Nintendo Switch - Connecting to a Wireless Connection
How to Configure a Nintendo Switch for a Wireless Connection
This is a general guide on how to configure a wireless connection to your Nintendo Switch or Switch Lite. Settings on different networks could be different. This guide is just intended to be used as a general reference.
- Place the Nintendo Switch within 10 feet of the wireless router to ensure a strong wireless signal.
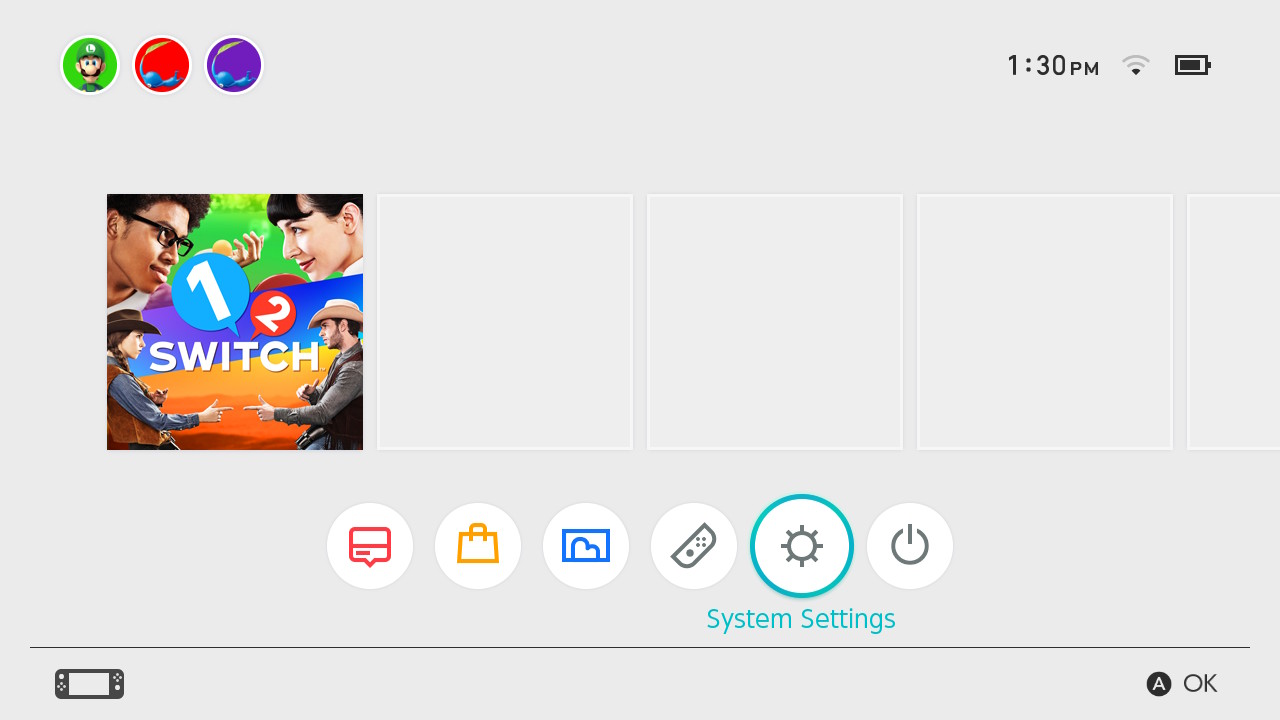
- On the Nintendo Switch console, select Settings from the HOME Menu.

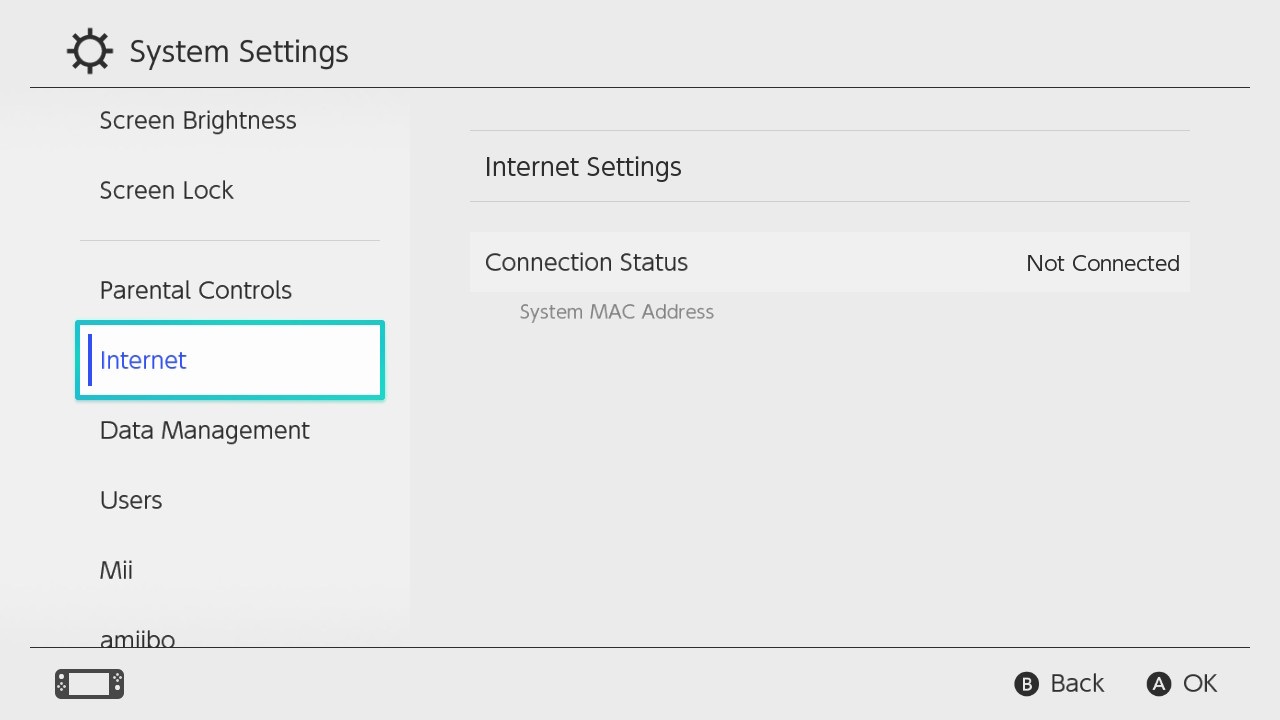
- Select Internet, and then Internet Settings. The Nintendo Switch will automatically search for near-by Wi-Fi signals.

- Select the appropriate network name (SSID) from the list.
- If you are unable to find your network's name, stand closer to the wireless router and press the Y Button to search again.
- If the network name is grayed out, this indicates the wireless security type being used is not supported by the Nintendo Switch.
- If you are still unable to find your network, this may indicate an issue with the wireless network environment.
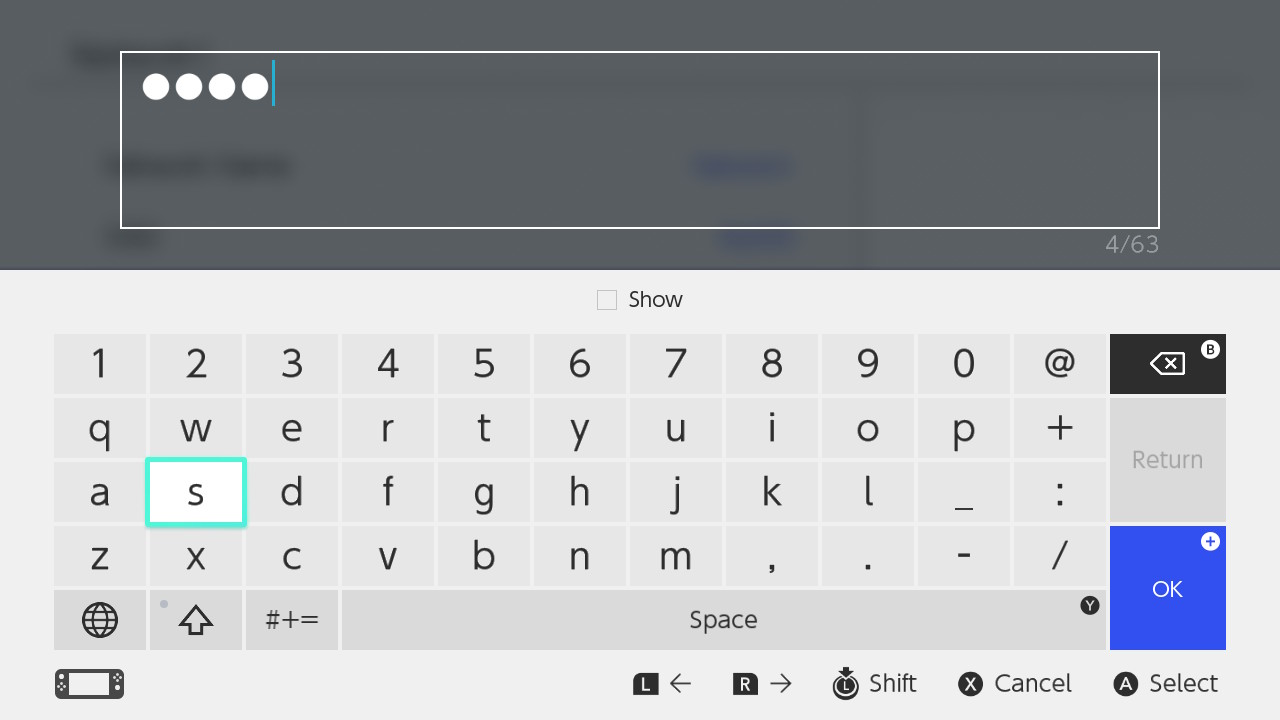
- If prompted, use the onscreen keyboard to enter the network's wireless password.

- The Nintendo Switch will test the Internet connection. Once the test is complete, select OK to complete the process.
- Reference Link: https://en-americas-support.nintendo.com/app/answers/detail/a_id/22375/~/how-to-connect-to-the-internet-using-a-wireless-network

