Xbox 360 - Configuring for a PPPoE Connection
How to Configure a Xbox 360 for PPPoE
This is a general guide on how to configure a Xbox 360 for PPPoE. Different versions of the OS of the Xbox 360 can change and may be different compared to this guide.
This is a general guide on how to configure a Xbox 360 for PPPoE. Different versions of the OS of the Xbox 360 can change and may be different compared to this guide.
DISCLAIMER: These guides are intended for anyone to use. However, technical support is only provided to customers who have Nex-Tech services.
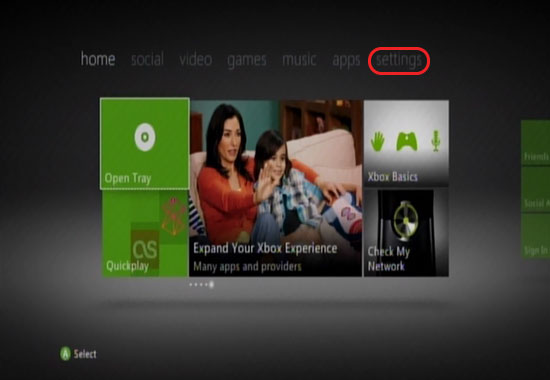
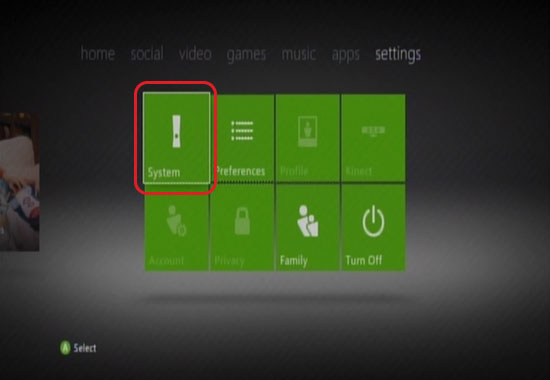
- To start we will need to turn on the Xbox, then go to the Settings heading, from there you will need to use the Left Stick to move Down until you reach System, and then press A.
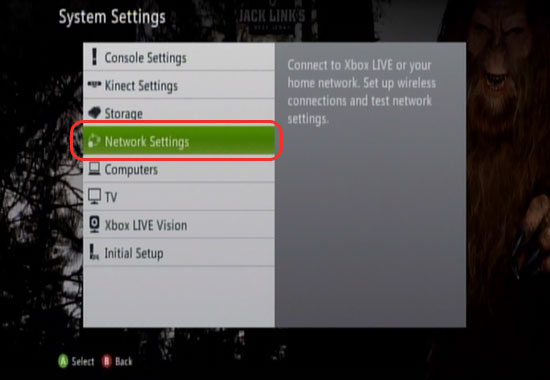
- In this menu we will need to scroll down to Network Settings and then press A.
- Here you will want to select Wired Network and hit A.
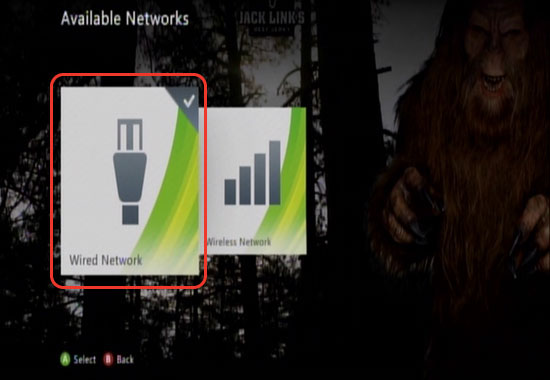
- Here you will want to select Configure Network and hit A.
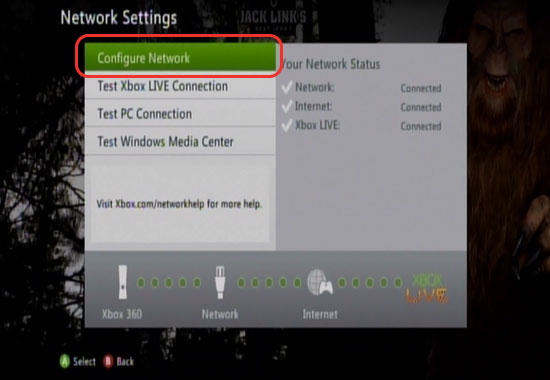
- At this menu you will need to switch the the Additional Settings tab using the Left Stick to move to the Right.
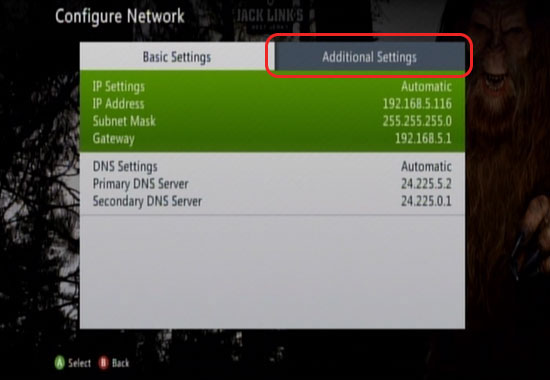
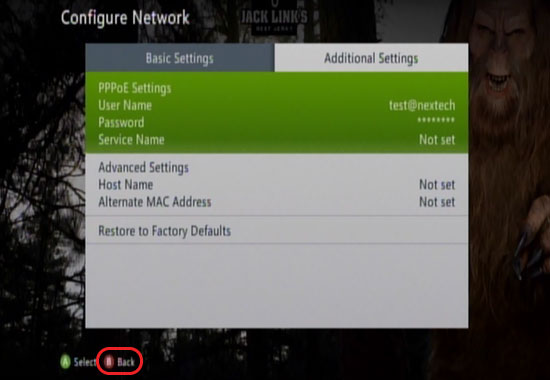
- Once in the Additional Settings tab, we will want to select the PPPoE Settings and press A.
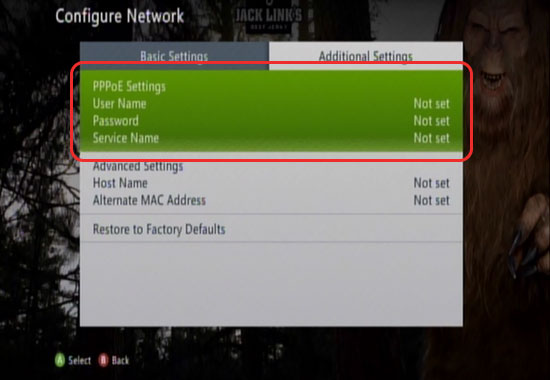
- To edit the PPPoE settings we will need to add the User Name and Password to the settings. Once you have added the User Name and Password, please go down and hit Done. If you do not know your User Name and Password you can find this on the Nex-Tech card that a technician should have left for you, if not please contact the Help Desk at 1.888.565.3200 if you have Nex-Tech services.
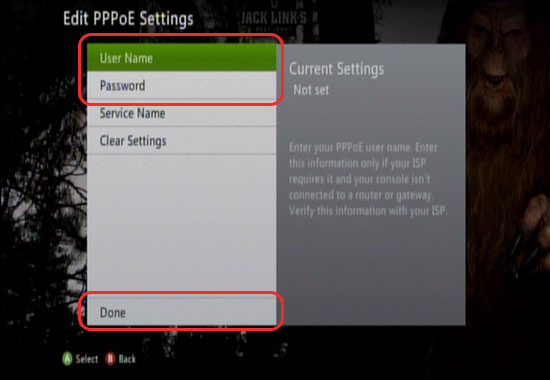
- Once you have hit Done, you will be brought to the Additional Settings tab. From here you will want to hit the B button to go back and you should be ready to use the PPPoE connection. You may run a test to Test the Xbox Live connection on this menu as well.
