Wii - Connecting to a Wireless Connection
How to Configure a Wii for a Wireless Connection
This is a general guide on how to configure a wireless connection to your Wii. Settings on different networks could be different. This guide is just intended to be used as a general reference.
This is a general guide on how to configure a wireless connection to your Wii. Settings on different networks could be different. This guide is just intended to be used as a general reference.
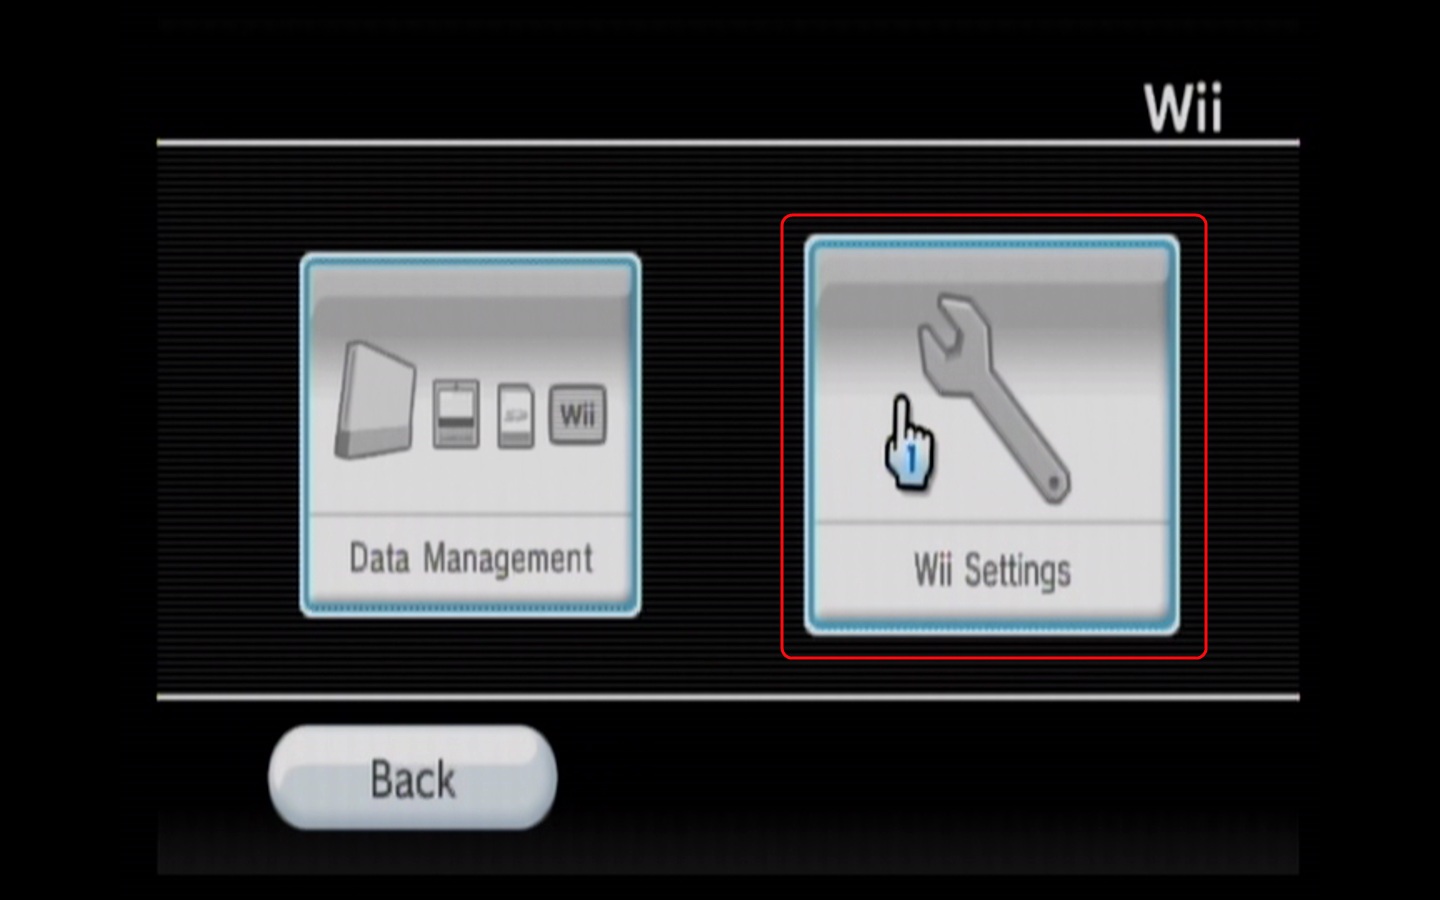
- First, we will want to turn on the Wii and from the main menu select Wii Options in the lower left hand corner, and then press A.

- At the next menu, we will select Wii Settings and press A.
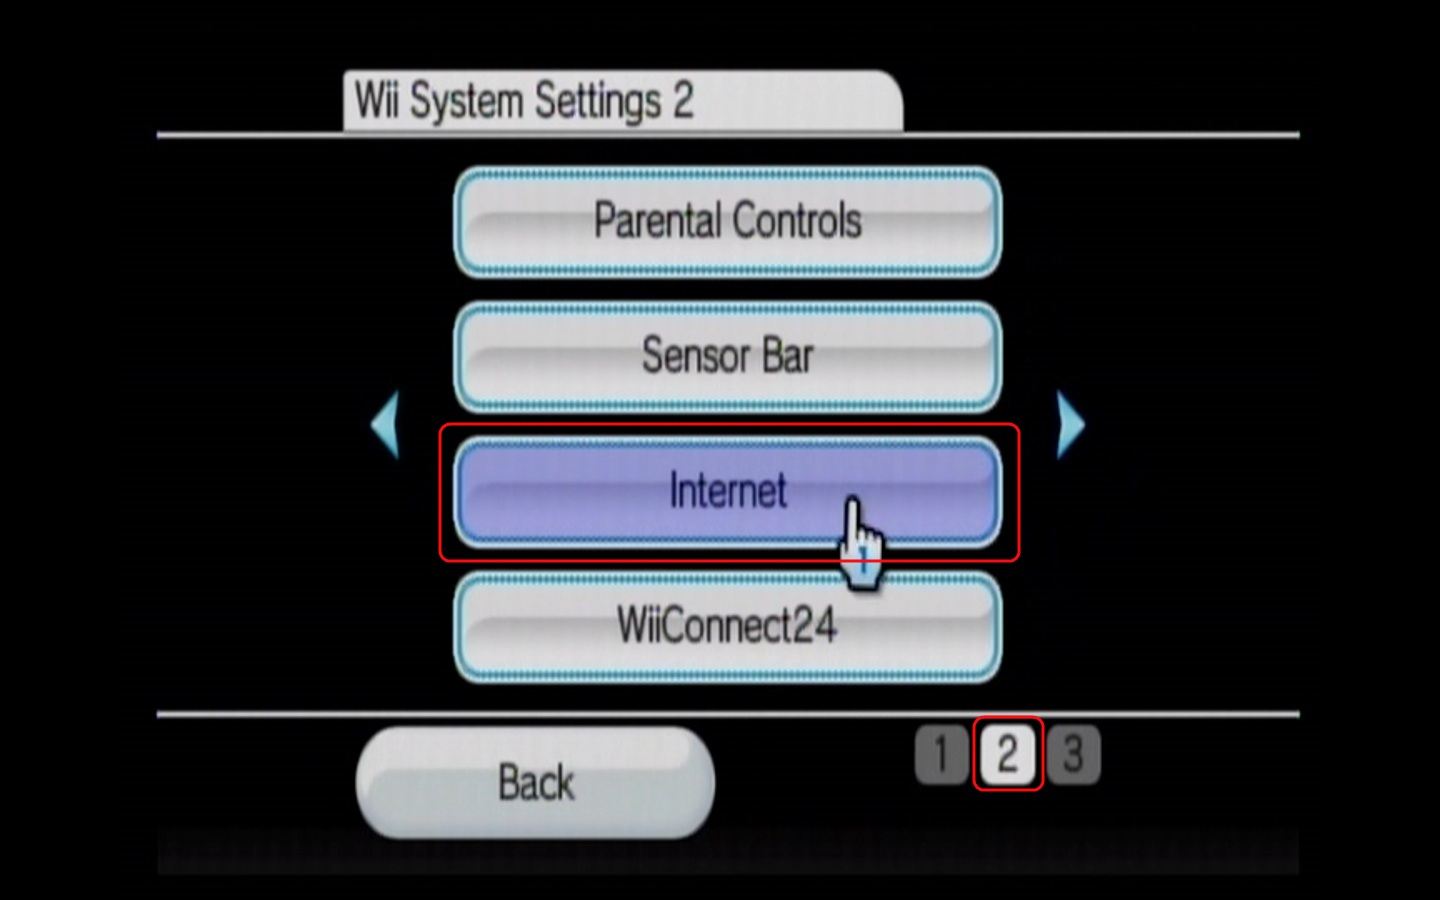
- Here you will need to go to the second page of options, and click on Internet by pressing A.
- In the Internet Settings, you will need to click on Connection Settings and press A.

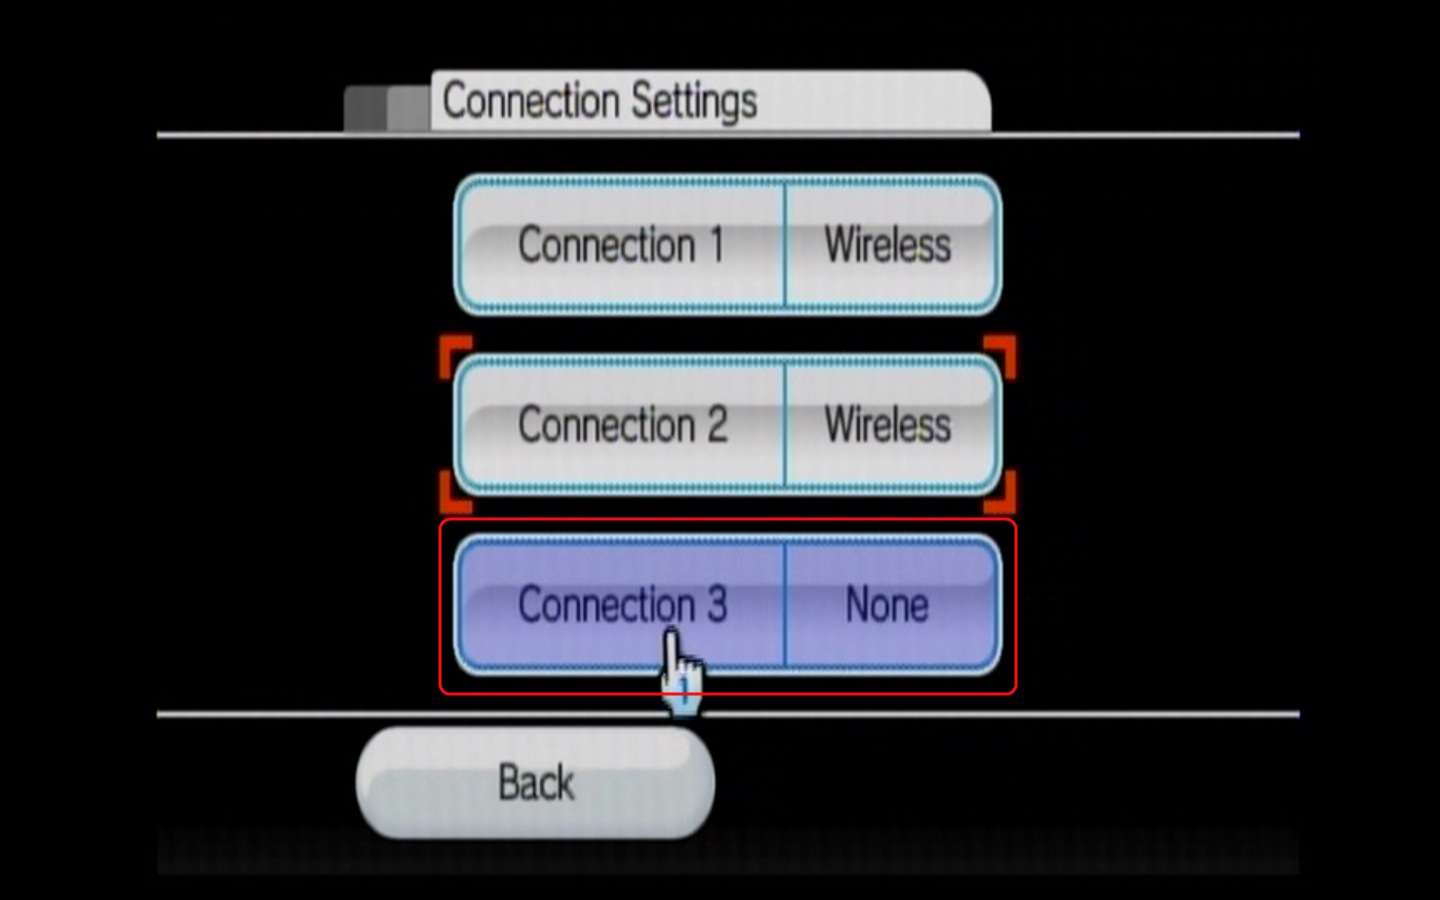
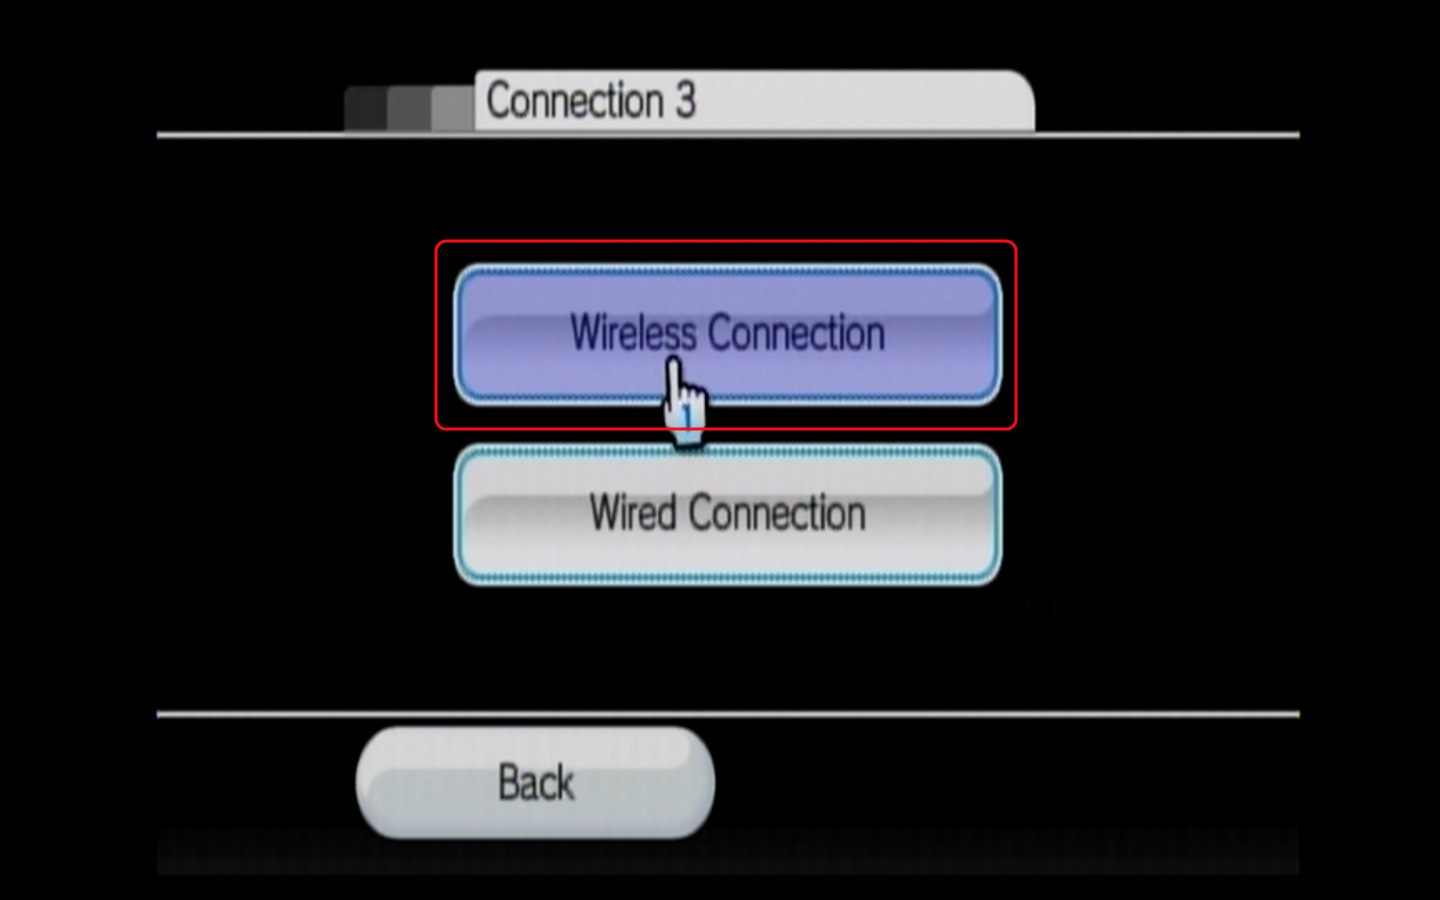
- Under Connection Settings, you will want to select one of the Connections and press A. Here we selected Connection 3 since it did not have an existing connection already configured. You can see that Connection 1 and Connection 2 each have had a previous Wireless connection configured for that particular connection. You may save over or replace an existing connection if you like.
- Here we will want to select Wireless and then press A.
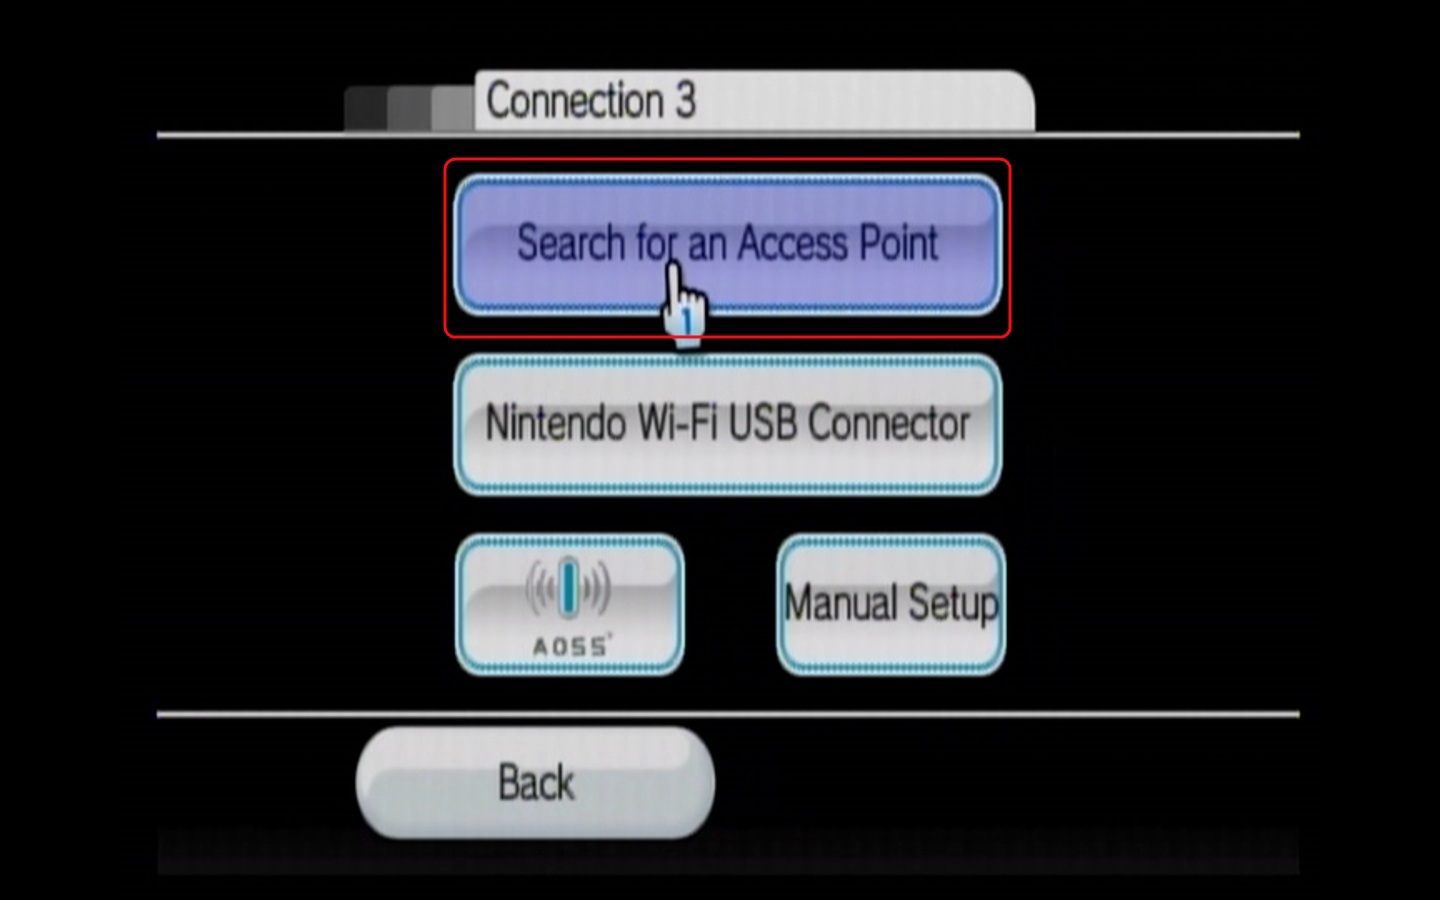
- Now you will want to select Search for an Access Point, and press A.
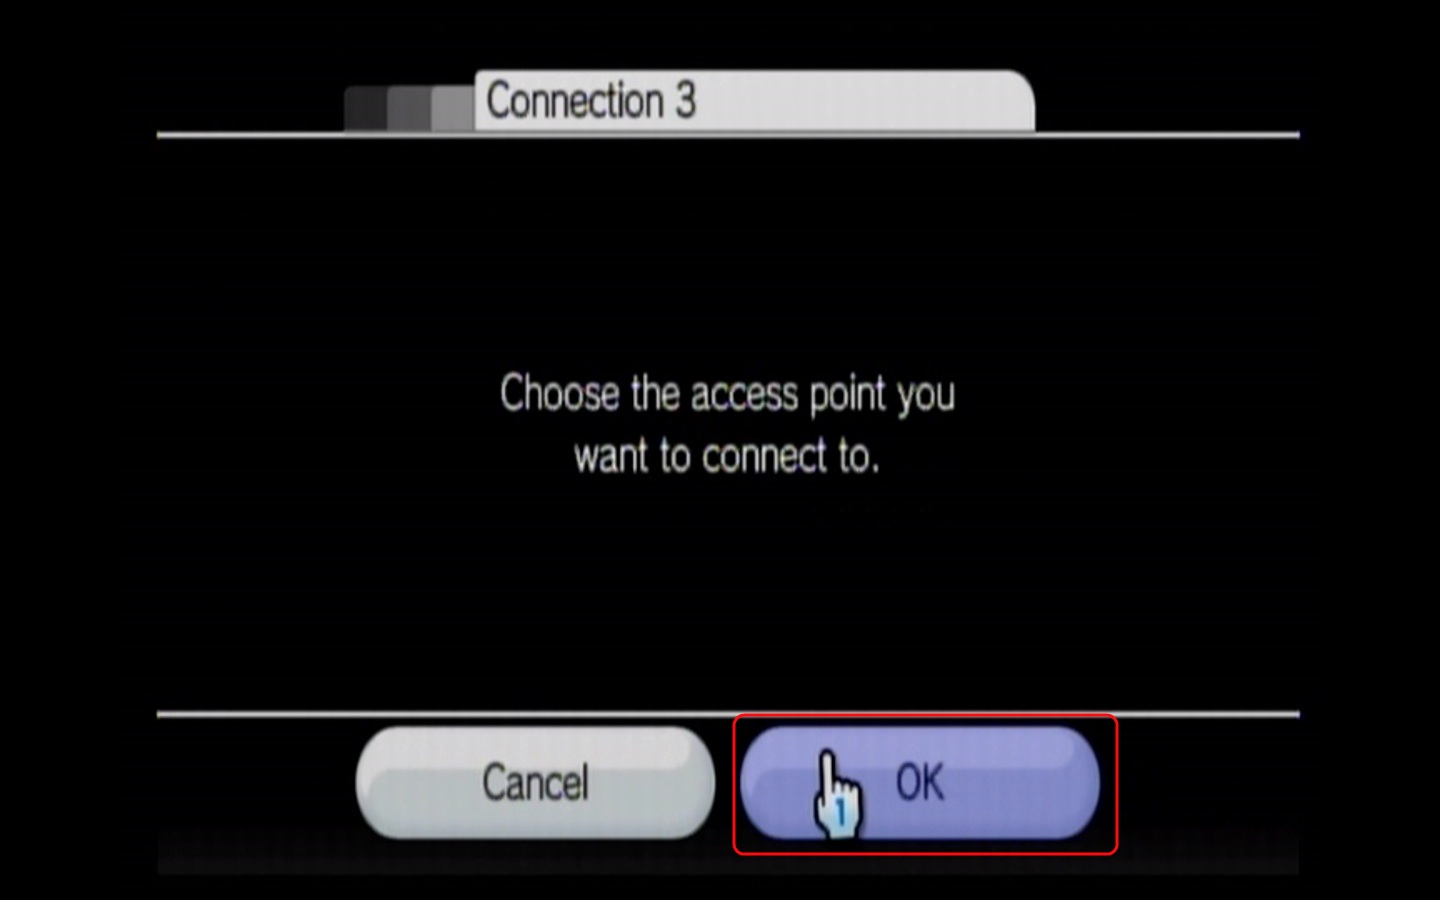
- Select OK and press A.
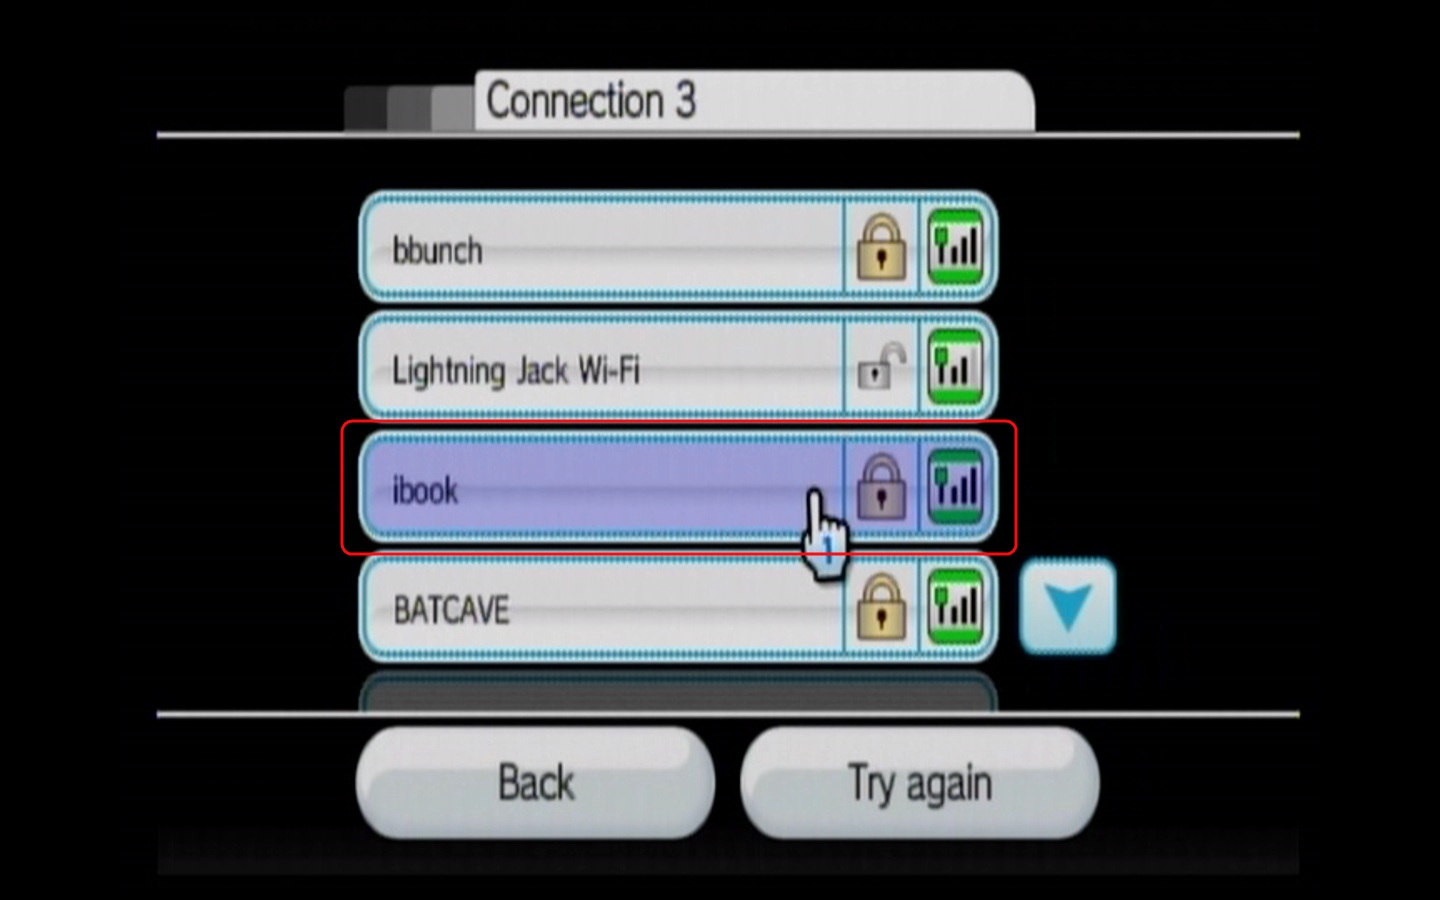
- Here will be a list of available wireless networks. Select your network and press A.
- If your wireless network requires a password, here is where we will enter it. Press A on the characters needed to enter them in to the box at the top and then select OK and press A once you have finished typing in your password.

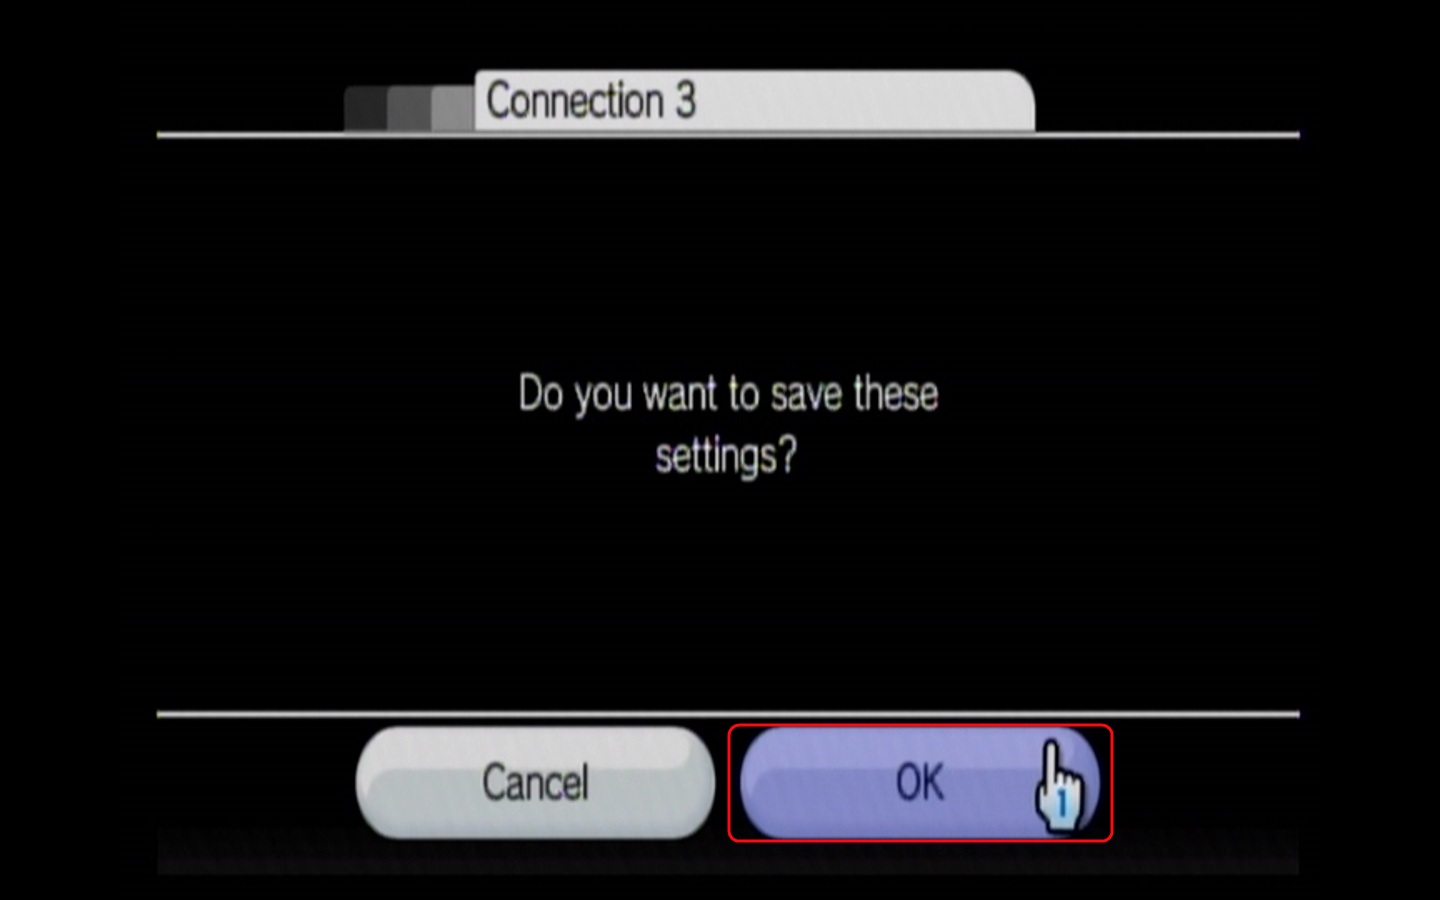
- Select OK and press A on the next screen. This will save the connection to your Wii's memory so that it will automatically connect on its own every time.
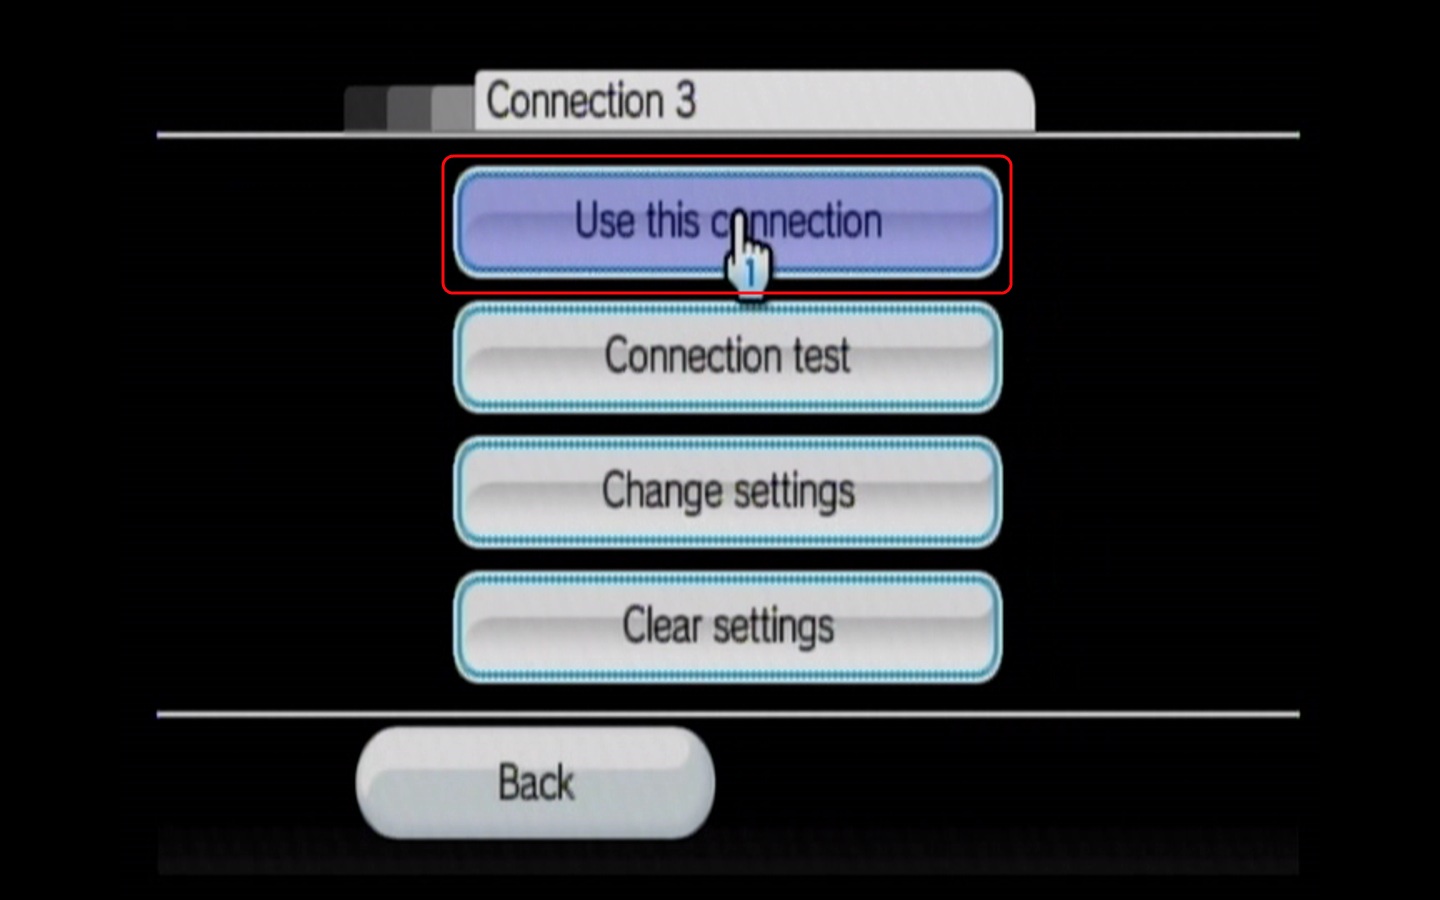
- To finish connecting to your wireless network, highlight Use this connection and press A.