Kindle Fire Email Setup
Kindle Fire Email Setup
NOTE
These steps were taken using a First Generation Kindle Fire. The layout and steps taken may vary depending on your model and version. However, the steps should remain relatively similar and the information needed to set up the account still remains accurate.
These steps were taken using a First Generation Kindle Fire. The layout and steps taken may vary depending on your model and version. However, the steps should remain relatively similar and the information needed to set up the account still remains accurate.
| Adding Email Accounts |
Viewing Account Settings |
Removing Email Accounts |
Adding Email Accounts
- To add an email account, first open up the Mail app on your Kindle Fire.
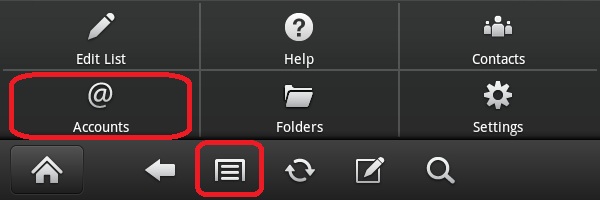
- Click the Menu button at the bottom and then select Accounts.
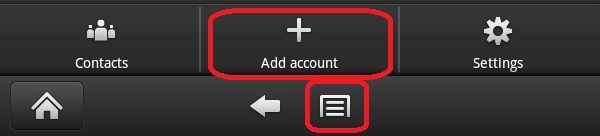
- At the bottom of the accounts screen, press the Menu button again and then select Add Account.
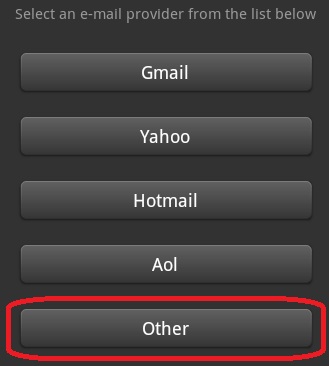
- Choose Other at the email provider.
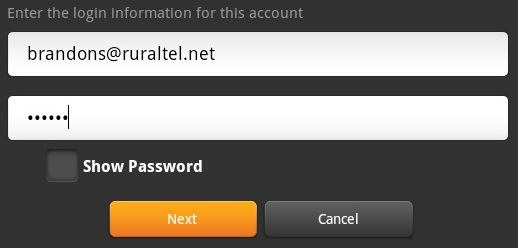
- Enter your full email address and email password. Then press Next.
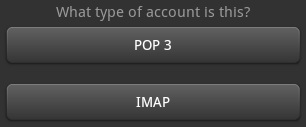
- Choose IMAP as the type of account.
- Enter the following information and then press Next:
- Email Address: Your full email address
- Password: Your email address password
- IMAP Server: imap.ruraltel.net (or imap.gbta.net, etc. depending on your email address)
- Port: 143
- The remaining options can be left at default

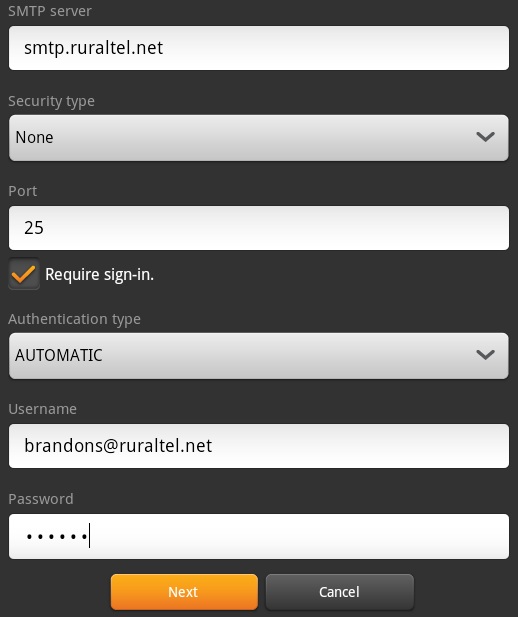
- Enter the following information and then press Next:
- SMTP Server: smtp.ruraltel.net (or smtp.gbta.net, etc. depending on your email address)
- Port: 25
- Requires Sign-Ing: Must be checked
- Username: Your full email address
- Password: Your email address password
- The remaining options can be left at default
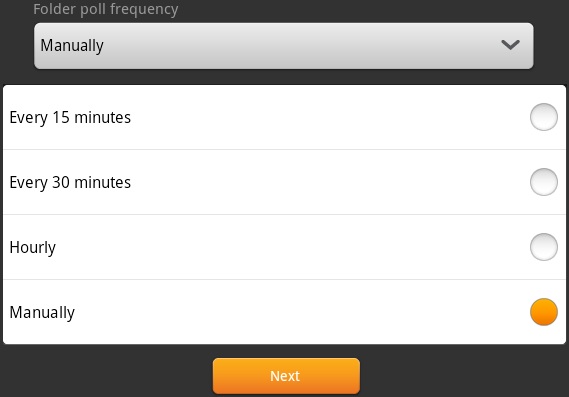
- Here you can select how often you want your Kindle Fire to check for new emails. When left at Manually, you must press the refresh button
 at the bottom of the inbox each time you want to look for new messages. Press Next once you make your selection.
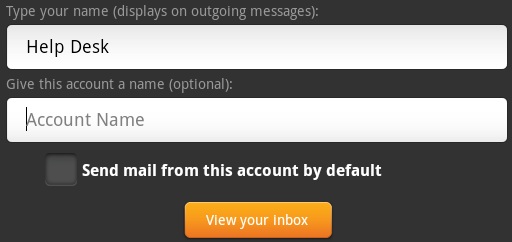
- Enter your name in the first box. This shows others who the mail is coming from. The account name is optional. Then press View your inbox.
- Your account is now created and you should be at your inbox.
Viewing Account Settings
- To view account settings, first open up the Mail app on your Kindle Fire.
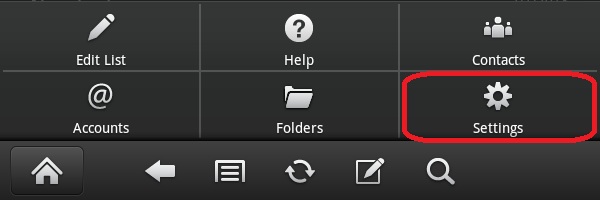
- Click the Menu button at the bottom and then select Settings.
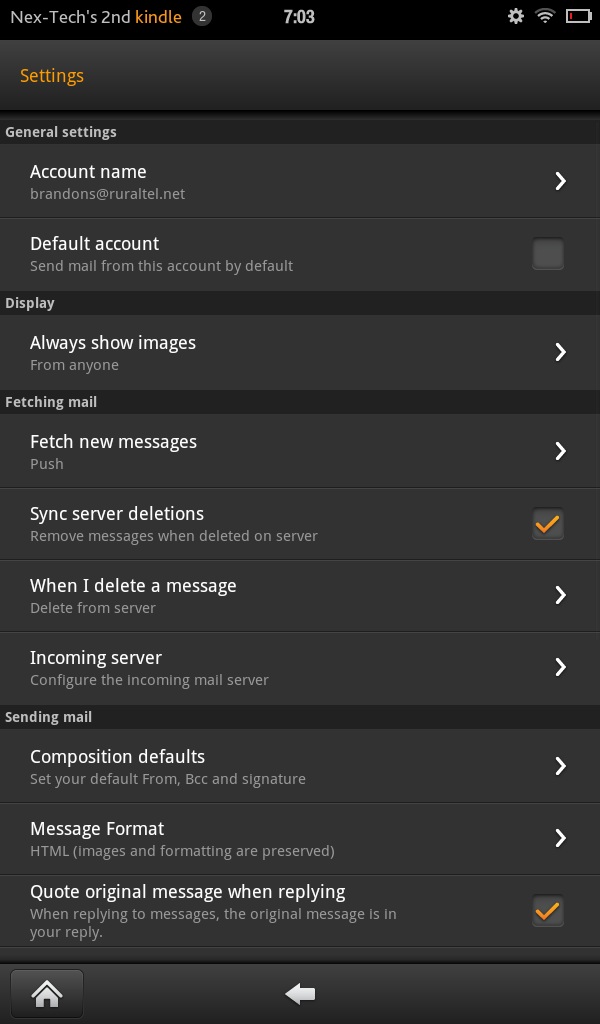
- Here is an example of the settings page. From here, you can access all of your account settings and edit them as well.
Removing Email Accounts
- To remove an email account, first open up the Mail app on your Kindle Fire.
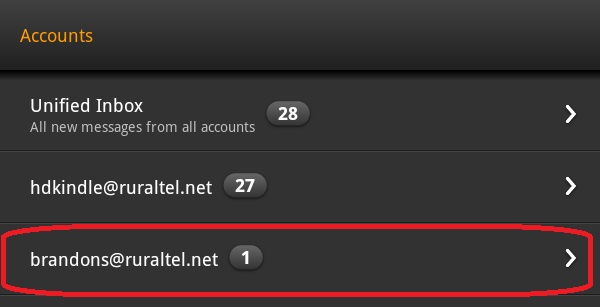
- Click the Menu button at the bottom and then select Accounts.
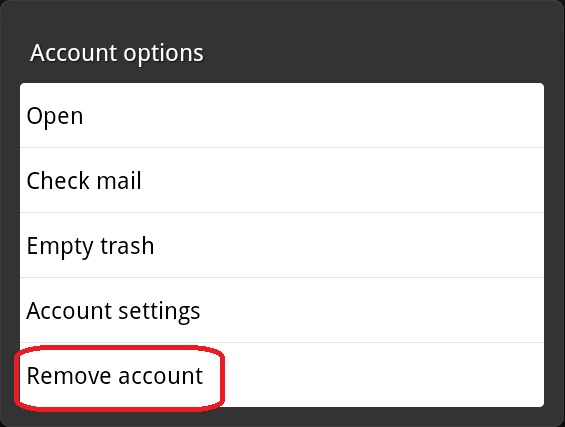
- Press and Hold on the account that you would like to remove.
- After holding for a couple seconds, a menu will open up. From here, select Remove Account.
- You will get a confirmation screen ensuring that you wish to remove the selected account. If so, press OK.
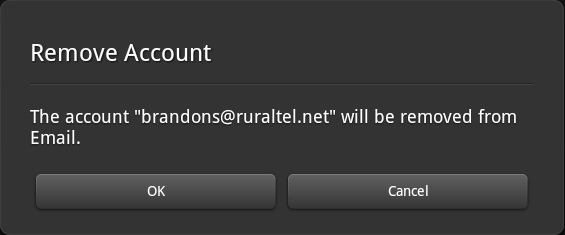
- Your account is now removed.