Android Email Setup
Android Email Setup
NOTE
Since the Android operating system is open source, the steps on this page may vary depending on your Android device. Though the programs and steps may be different, the information needed to set up the accounts will still remain the same.
Since the Android operating system is open source, the steps on this page may vary depending on your Android device. Though the programs and steps may be different, the information needed to set up the accounts will still remain the same.
| Adding Email Accounts |
Viewing Account Settings | Removing Email Accounts |
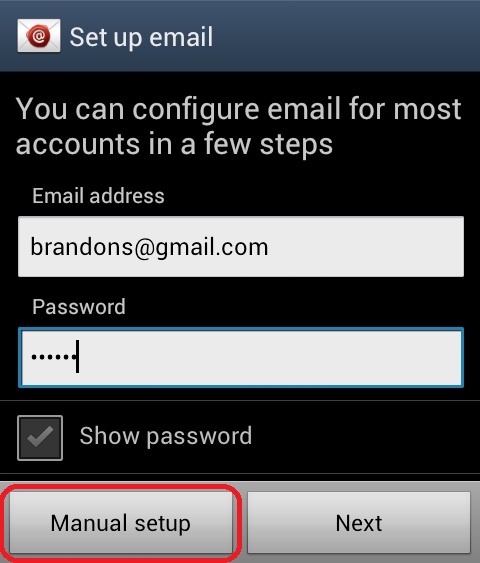
- Open up the Email program

- If you currently have no email accounts setup, then you should see the screen below. Here we will put in your full email address and the password for your email address. Then press Manual Setup.
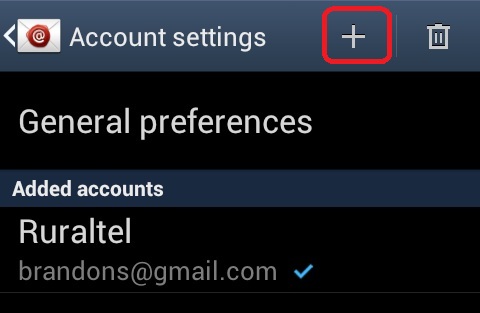
- If you already have an account setup and need to add another, press the Menu button on the device and then select Account Settings.

- From here, press the + on the top right to get the setup screen pictured at the beginning of step 2.
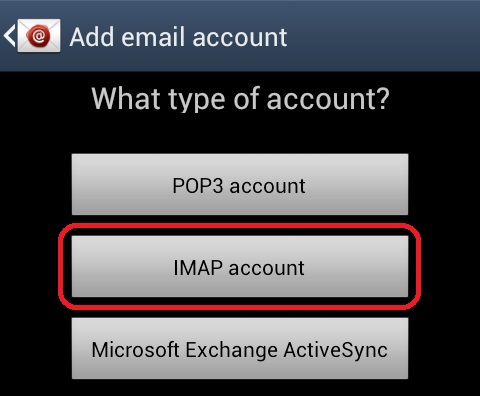
- For the type of account, select IMAP Account.
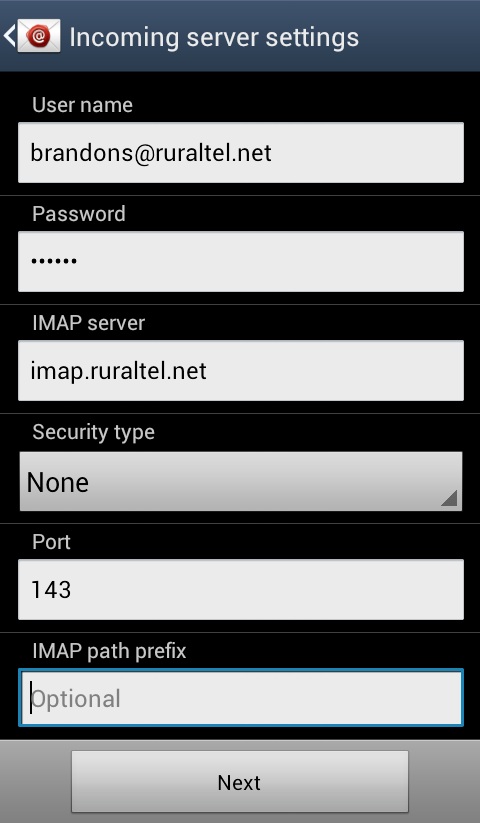
- Once the following Incoming Server Settings have been entered, press Next.
- User Name: Full email address
- Password: Email password
- IMAP Server: imap.ruraltel.net (or imap.gbta.net, etc. depending on your email address)
- Security Type: None
- Port: 143
- IMAP Path Prefix: Left blank
- Once the following Outgoing Server Settings have been entered, press Next.
- SMTP Server: smtp.ruraltel.net (or smtp.gbta.net, etc. depending on your email address)
- Security Type: None
- Port: 25
- Require Sign-In: Needs to be checked
- User Name: Full email address
- Password: Email password

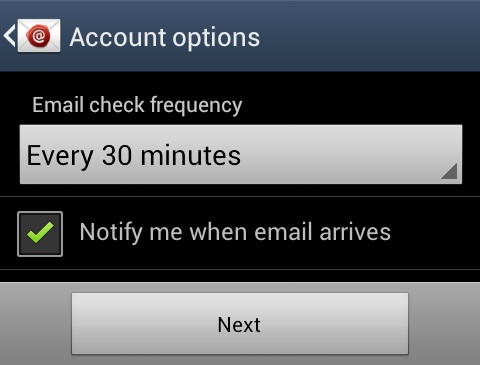
- Here we can select how often your Android device checks for new emails and if it should notify you of new emails or not.
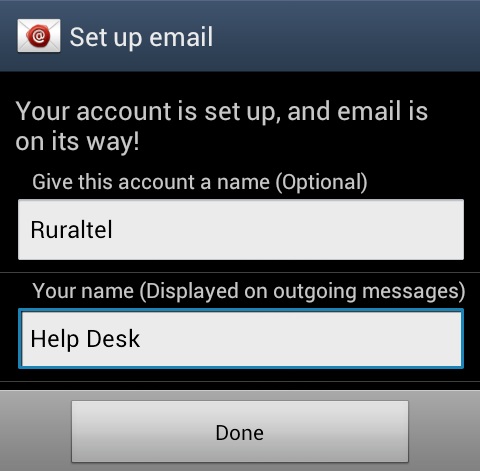
- This is the final screen. The Account Name can be whatever you want it to be. Your Name is what is the name others see when you send an email. Finally, press Done.
- Your email address is now set up.
- Open up the Email program.
- Press the Menu button on your Android device and select Account Settings.
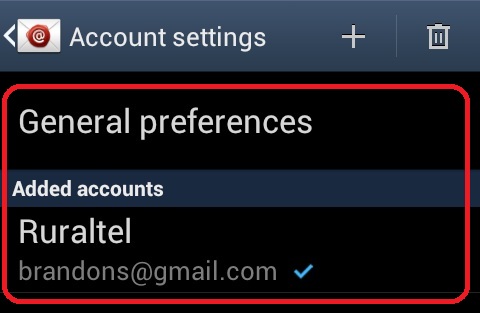
- From here you can select General Preferences to see the settings of the mail program and not specific to an email address. To view the settings of a specific account, select the account under Added Accounts.
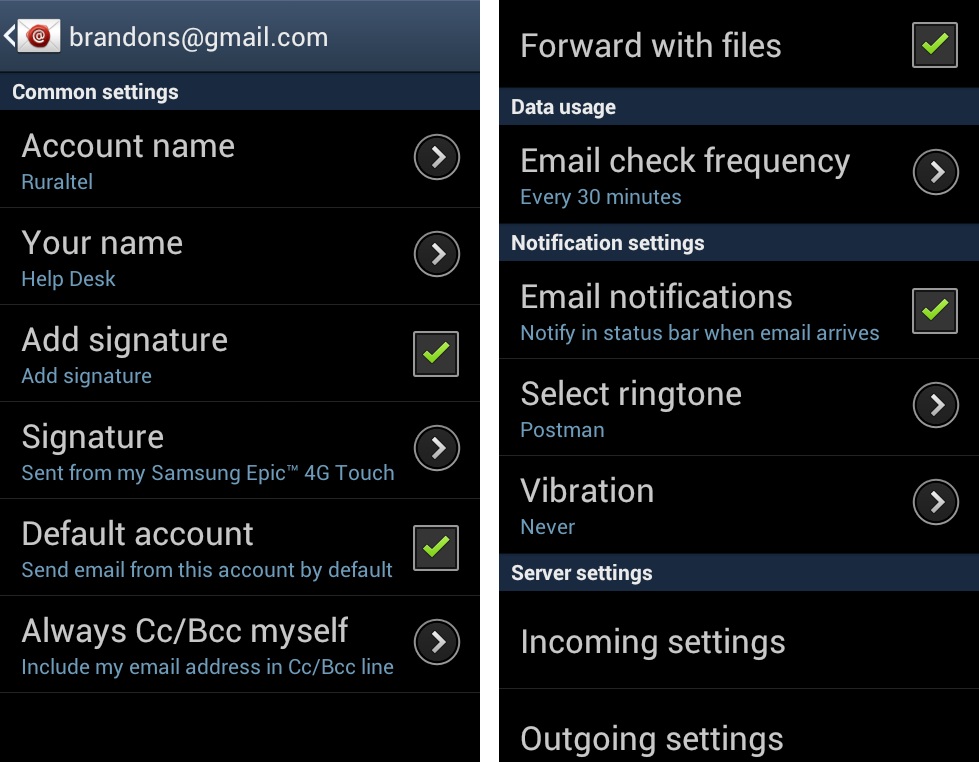
- Here is an example of the account settings screen.
- Open up the Email program.
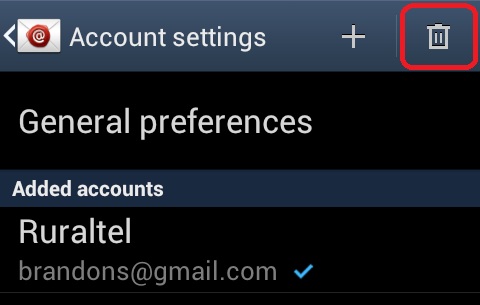
- Press the Menu button on your Android device and select Account Settings.
- Select the Trash Can at the top right.
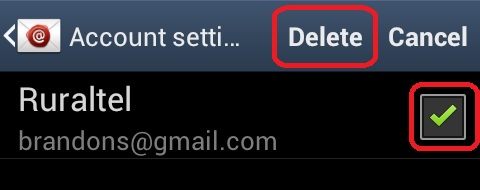
- Place a check mark next to each account that you would like to remove and then press the Delete button at the top.
- You will get a prompt confirming that you would like to remove the selected account(s). If so, press Delete.
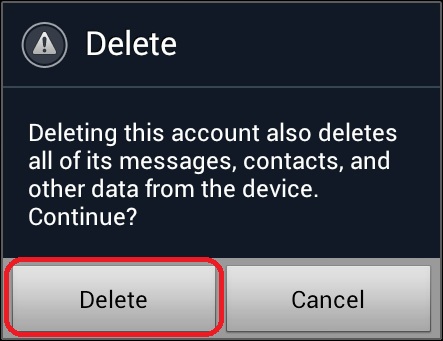
- Your account(s) have now been removed.