Windows 8 Email Setup
Windows 8 Email Setup
| Adding Email Accounts |
Viewing Account Settings |
Removing Email Accounts |
Adding Email Accounts
- To add an email account, click on the Mail icon on the Windows 8 tiles screen.
- In Mail, place the cursor towards the bottom right corner of the screen. A menu will appear along the right. In that menu, click on Settings.
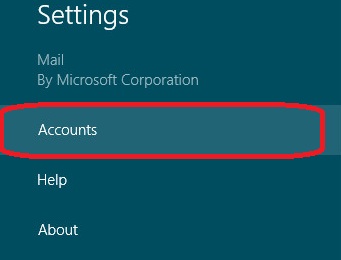
- Next, click on Accounts.
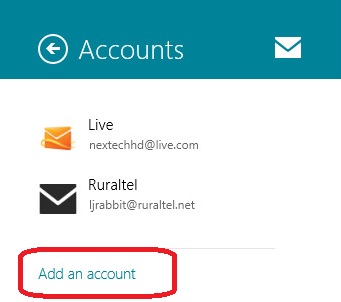
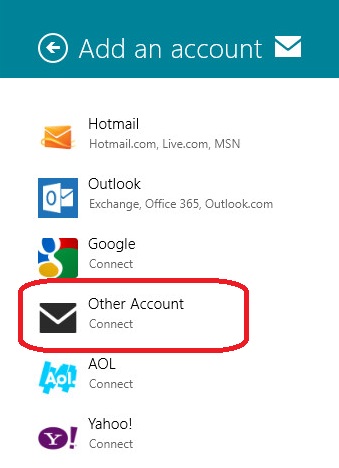
- To add an account, click on Add an account.
- Choose Other Account.
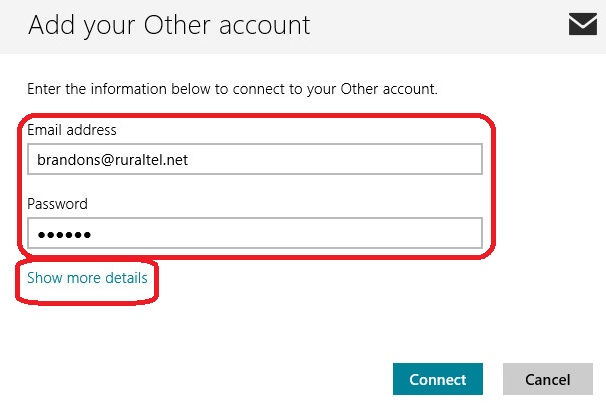
- Here we will put in the full email address and the email password. Then click on Show more details.
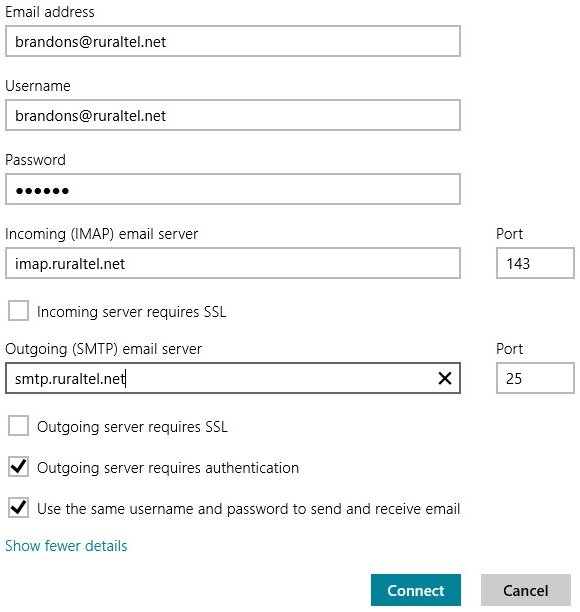
- Here we will have the following information and then press Connect:
- Email address: Full email address
- Username: Full email address
- Password: Email password
- Incoming email server: imap.ruraltel.net (or imap.gbta.net, etc. depending on your email address)
- Incoming email server port: 143
- Incoming server requires SSL: unchecked
- Outgoing email server: smtp.ruraltel.net (or smtp.gbta.net, etc. depending on your email address)
- Outgoing email server port: 25
- Outgoing server requires SSL: unchecked
- Outgoing server requires authentication: checked
- User the same username and password to send and receive mail: checked
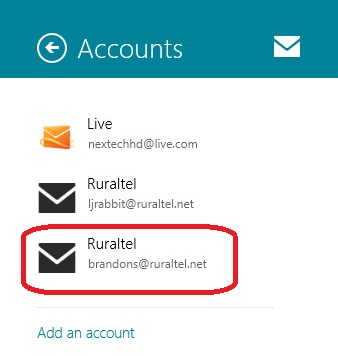
- Once you click Connect, your account has been created.
Viewing Account Settings
- To view the account settings of an email account, click on the Mail icon on the Windows 8 tiles screen.
- In Mail, place the cursor towards the bottom right corner of the screen.
A menu will appear along the right. In that menu, click on Settings.
- Next, click on Accounts.
- From here, click on the account that you would like to view the settings for.
- Your account settings will now be displayed along the right side of the screen.
Removing Email Accounts
- To remove an email account, click on the Mail icon on the Windows 8 tiles screen.
- In Mail, place the cursor towards the bottom right corner of the screen.
A menu will appear along the right. In that menu, click on Settings.
- Next, click on Accounts.
- From here, select the account you would like to remove.
- You should now see the account settings along the right side of the screen. Scroll all the way to the bottom and choose Remove Account.

- Your account is now removed.