Contacts Import/Export for Moundridge Email Customers
If you use your contacts inside a client or your phone, you won’t have to worry about your contacts or saved calendars. Those should be stored locally and will work all the same. If you have contacts saved in your current webmail platform, simply follow the instructions below and you will be able to import them into your new platform. (Click here if you want to skip to the import instructions)
-
Log into your Moundridge Email account anytime between now and November 17th by going to webmail.mtelco.net.
Newer Interface Version (if your view doesn't match the screenshot try these screenshots) -
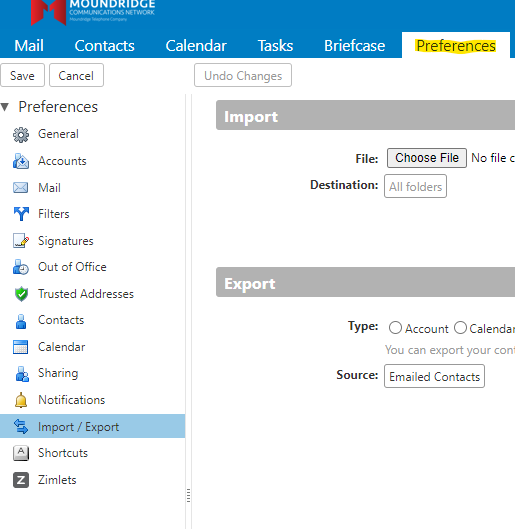
Go to Preferences, and then Import / Export

-
Then select Contacts in the bubble and Select Account Contacts in the drop down menu. From here where it says “Source” you will need to click the button that says “All Folders”.

-
In the window that comes up you will select Contacts. You can do this process over for Emailed Contacts as well if you want to save addresses that you have emailed, but not added to your saved Contacts. Click OK and then hit the Export button on the left. This will bring up a save file box. Name it whatever you would like. By default, it will be labeled Contacts. Hit Save. That’s it. You’re finished until the conversion is complete. After November 17th, you can import those into your new Webmail platform, or if you decide to use a client like Outlook you can import those in as well.
Old Interface Screenshots/ Instructions - Once you login to the webmail you will want to click on Preferences across the top and then on contacts

- Click on manage contacts at the bottom

- This will prompt you to login, your username will be the email address and password will be your email password.

- Click on the link to the left of "Export to CSV:" and you should see a download pop up in the top right of your web browser that will be named Contacts.csv. Now you’re finished until the conversion is complete. After November 17th, you can import those into your new Webmail platform, or if you decide to use a client like Outlook you can import those in as well.

Nex-Tech Webmail Import Instructions
For instructions on how to import contacts into Nex-Tech provided email platforms follow the instructions found on our Knowledge Base here or follow them below.
-
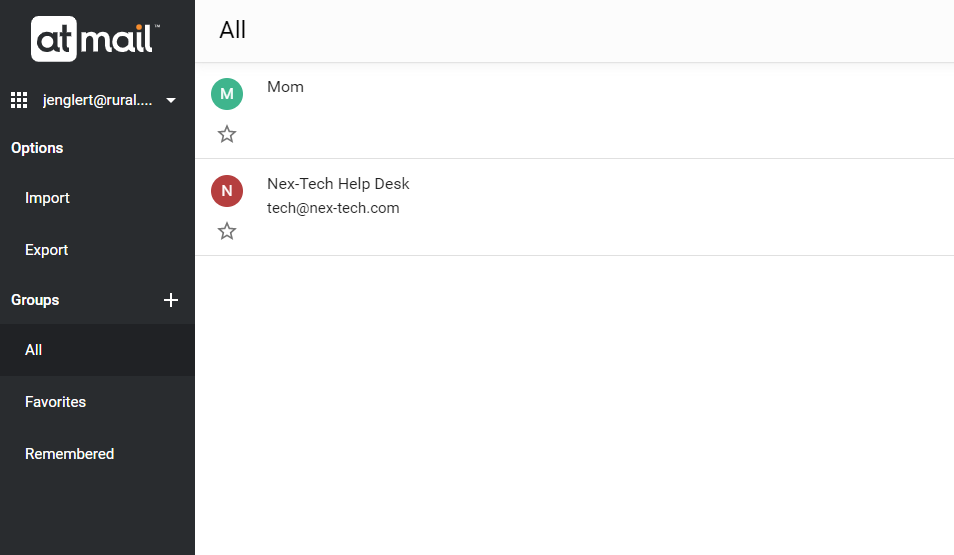
Log into your new webmail and click on the squares in the top left corner and go to Contacts. Once here you will see Import.

-
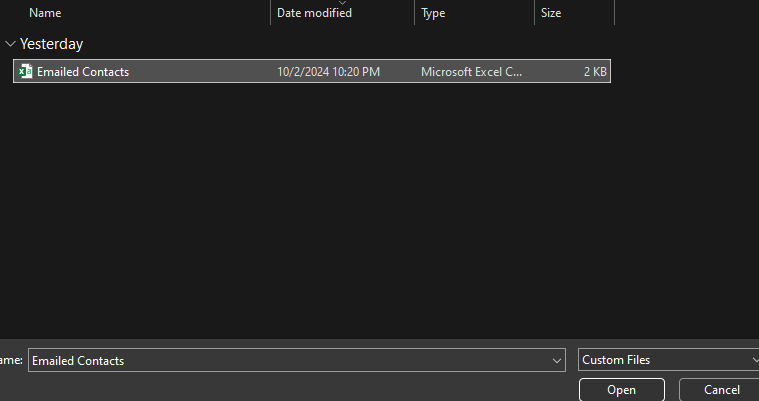
Once you select Import you will need to select the file you saved prior to the conversion and select Open.

That’s it. You’re contacts should import here and once again be usable.

