Using Nex-Tech Webmail
Using Webmail
*please note that Nex-Tech Webmail will only support updated browsers due to security risks on older versions*
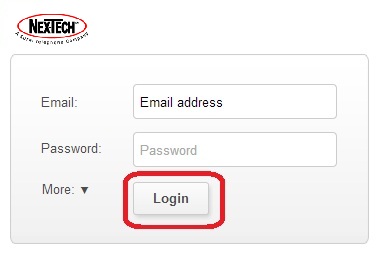
Logging In
- Go to webmail.ruraltel.net.

- Type in your full email address and password.
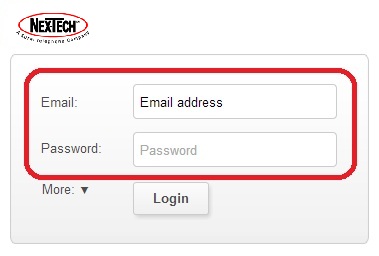
- Press Login.
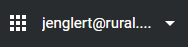
Logging Out
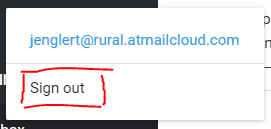
- To log out of your webmail account, simply click on the silhouette/profile picture on the top right.
- Click on Sign Out to log out of your webmail account.
Here is the default layout for the webmail
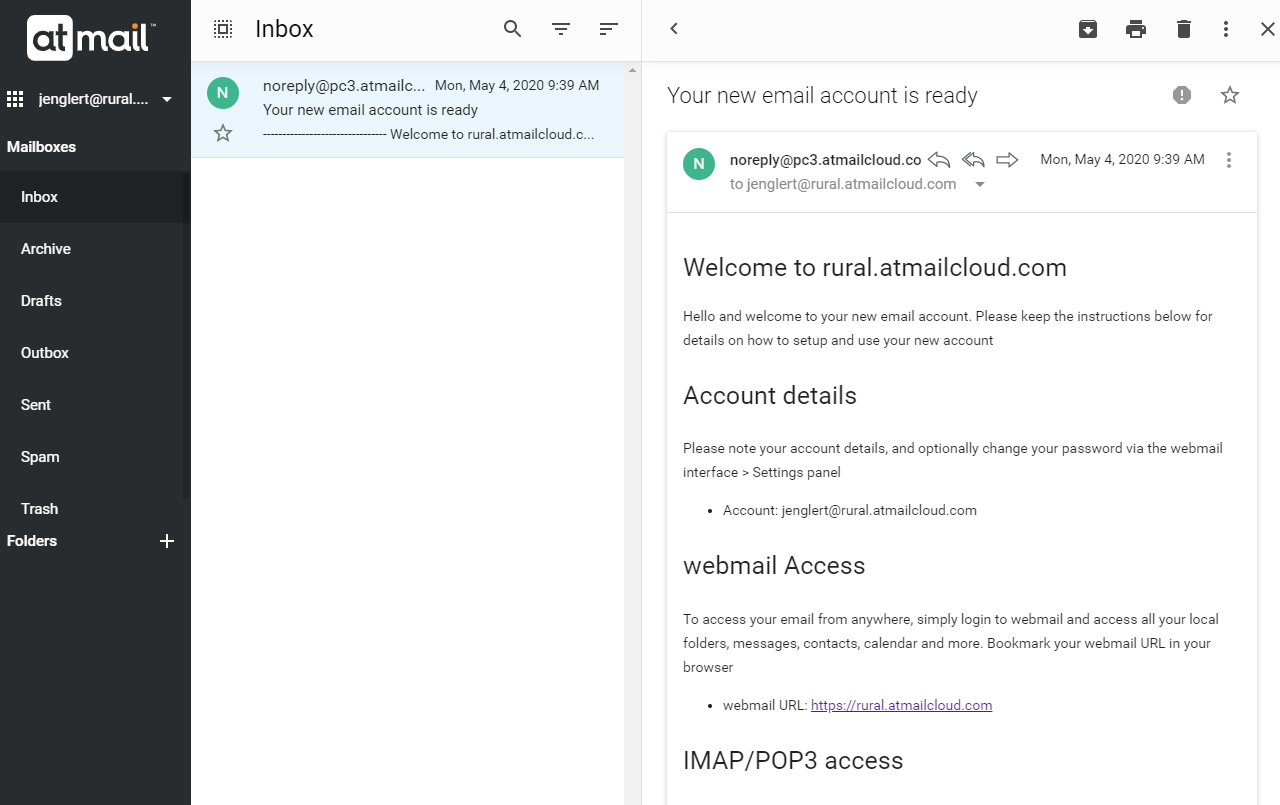
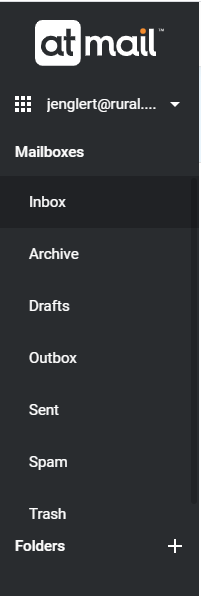
- The left column of the screen will show all of your Mailboxes, Folders, and Filters.
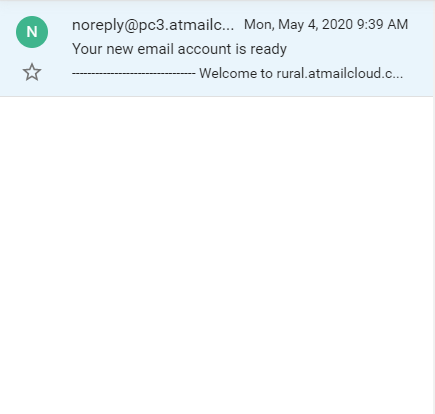
- The middle column shows a list of your emails for the selected Mailbox, Folder, or Filter. Simply click on an email to view it.
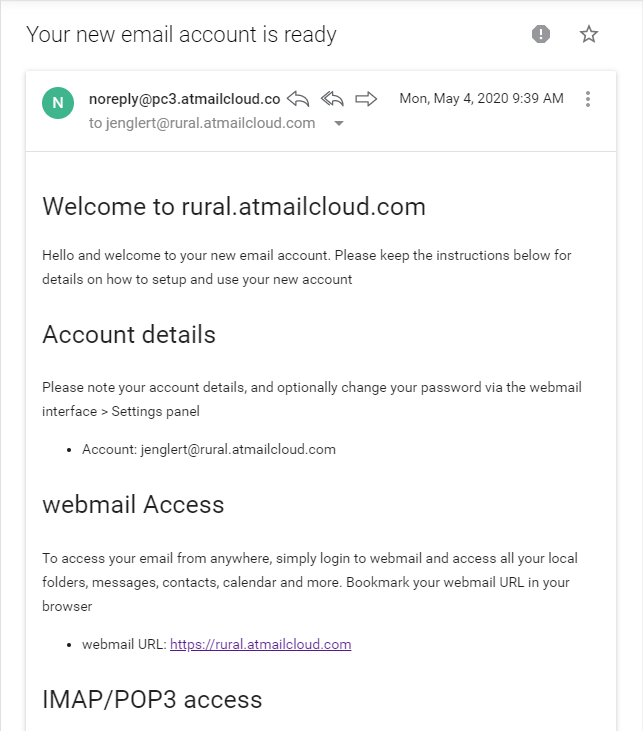
- The right half of the screen is where any selected email will show when you click on an email to read it.
- Along the top near the folder you are in is a square that will filter or select messages allowing to delete all, or move messages.
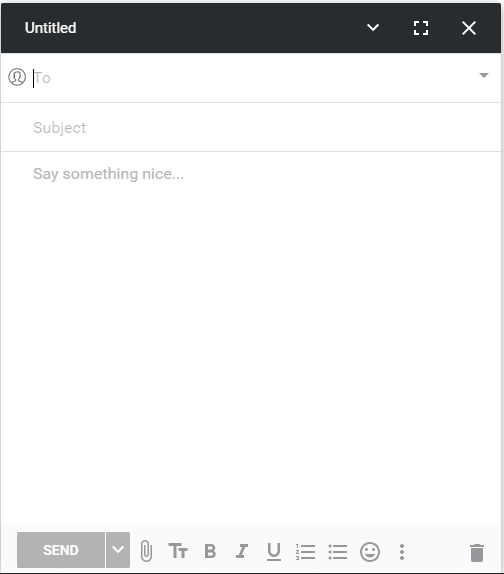
- Towards the bottom right of the page is the option to create messages. This will be a blue "+" icon bringing up a message option.

This will allow for creation of emails, and attaching items to emails.
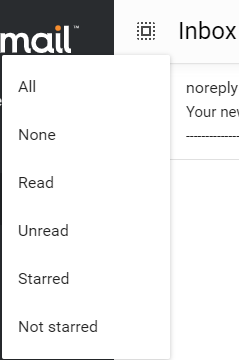
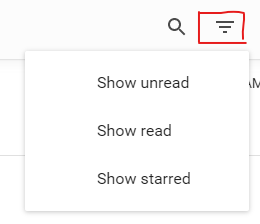
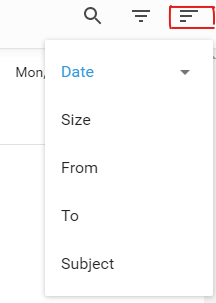
- Towards the top right you will notice a search, and filter options
- The first option will be showing unread, read and starred emails
- The second option will allow for sorting by date, size, who an email comes From, To, and Subject
Contacts
Here is the layout for the contacts in your webmail
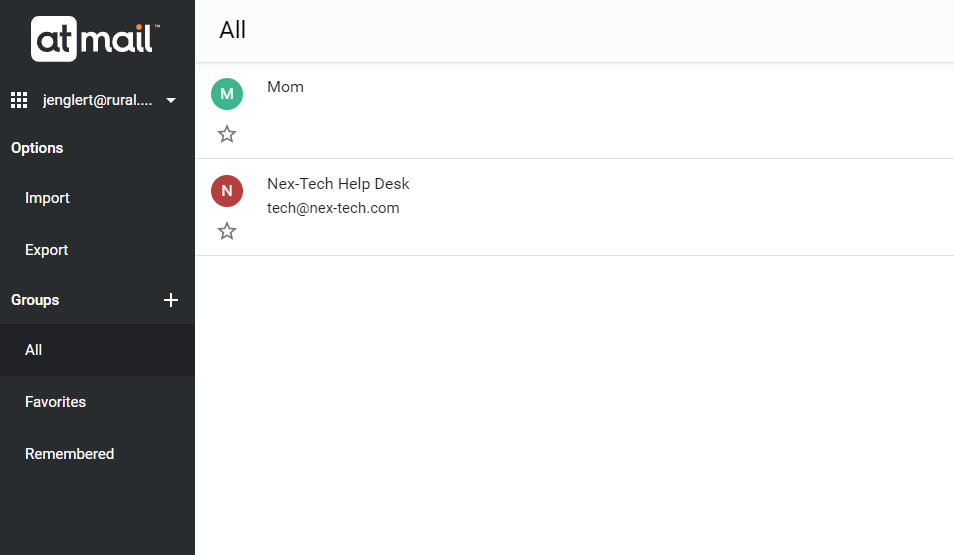
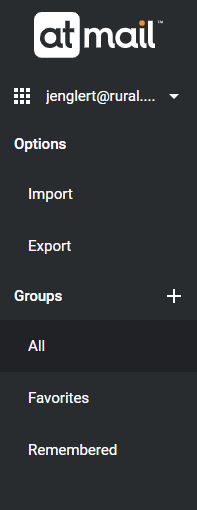
- The left column of the screen will show your Contacts and Groups. This will also be where you can import or export your contacts. You can import via cCard Files (VCF).
- The middle column shows a list of your contacts for the selected option from the left column. Click on a contact to view it.
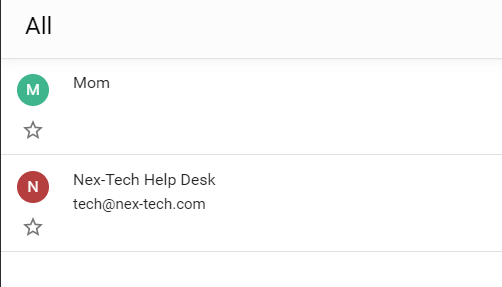
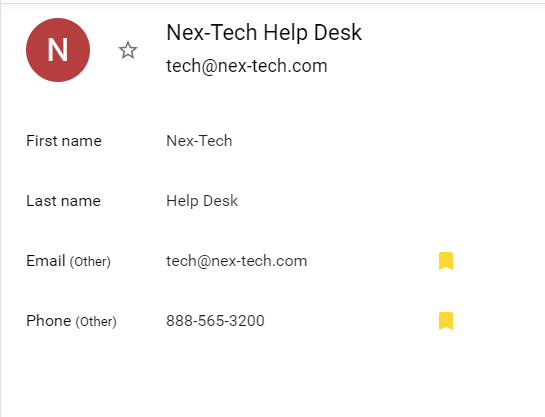
- The right half of the screen will show the information of the contact that is selected.
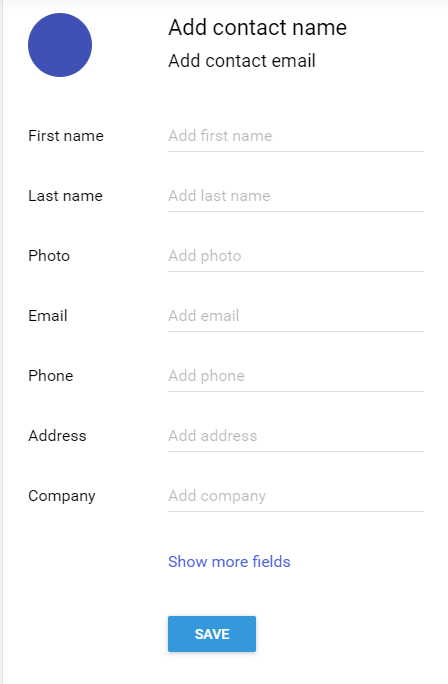
- Along the bottom right you will see the blue "+" option. This will allow you to create a new contact.
- Creating a contact will allow you to add any information you will need for that contact.
Calendar
Here is the layout for the calendar in your webmail
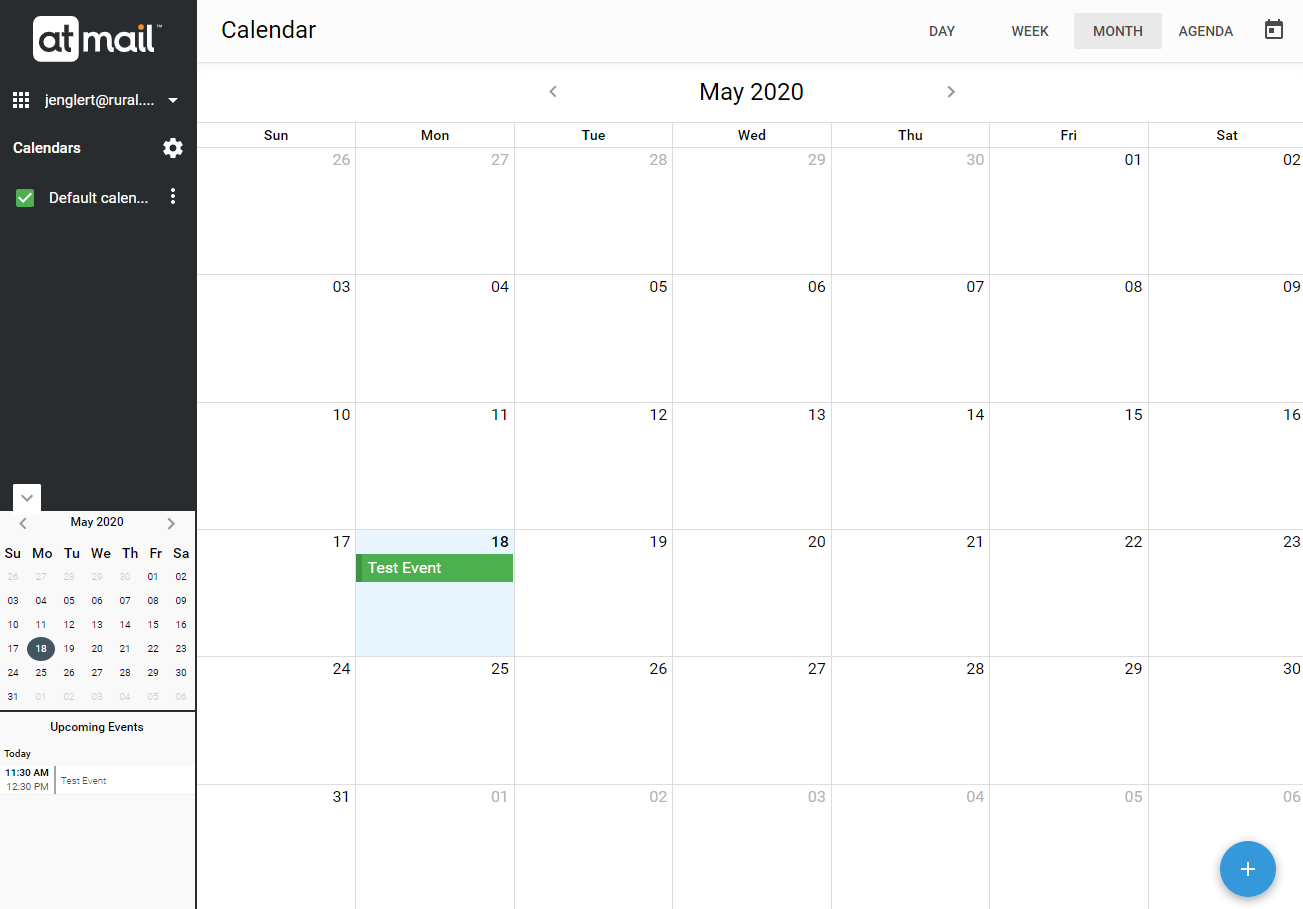
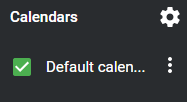
- The left of the screen shows your calendars. You can have multiple calendars. You can create a calendar by clicking on the + or delete the current calendar by clicking the -. Simply click on a calendar to view it.
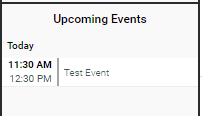
- To the left of your calendars is a list that shows all of your upcoming events.
- The right half of the screen will show your schedule. It will also display any events that fall with the day, week, or month selected.
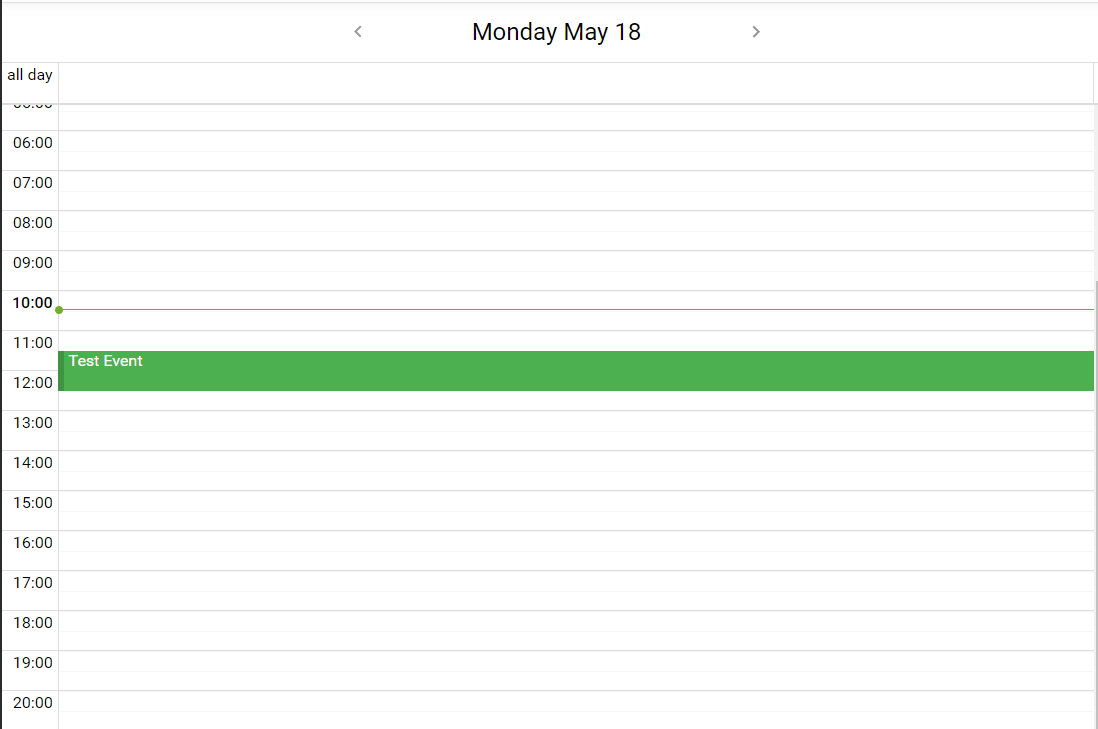
- Above the schedule are links that allow you to change the schedule back to the current day. You can also view the schedule by day, week, or month.

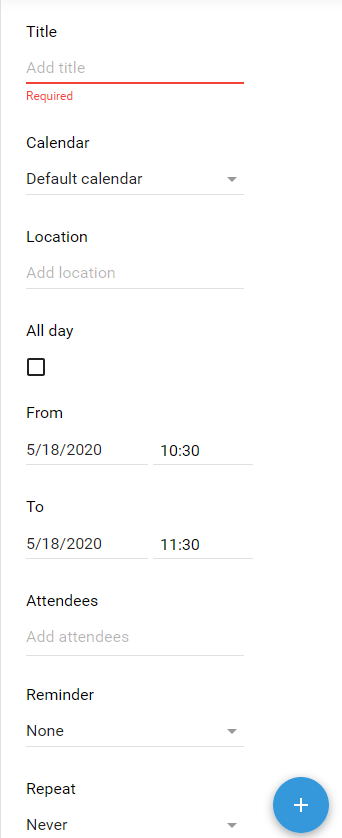
- To create an event, simply click on the plus at the bottom right side of the page. Fill out the necessary information for your event or meeting. You can also invite individuals right from this menu via email.
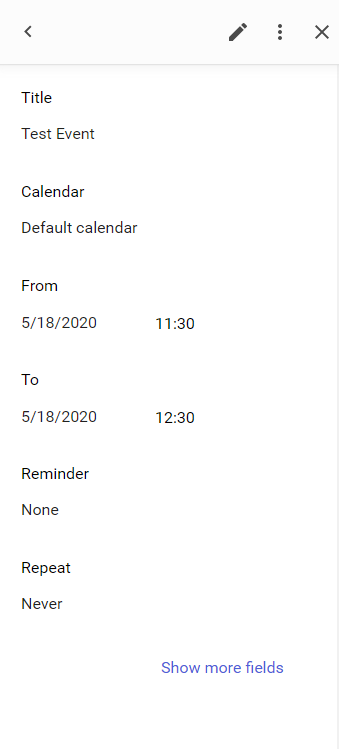
- To edit or delete an event, you can click on the event from your list of upcoming events or on the schedule on the right half of the screen. You will get the same edit screen that you got when you first created your event. Here you can make your changes and press Save at the bottom or delete it by pressing Delete.
Storage
Here is the layout for the Storage in your webmail
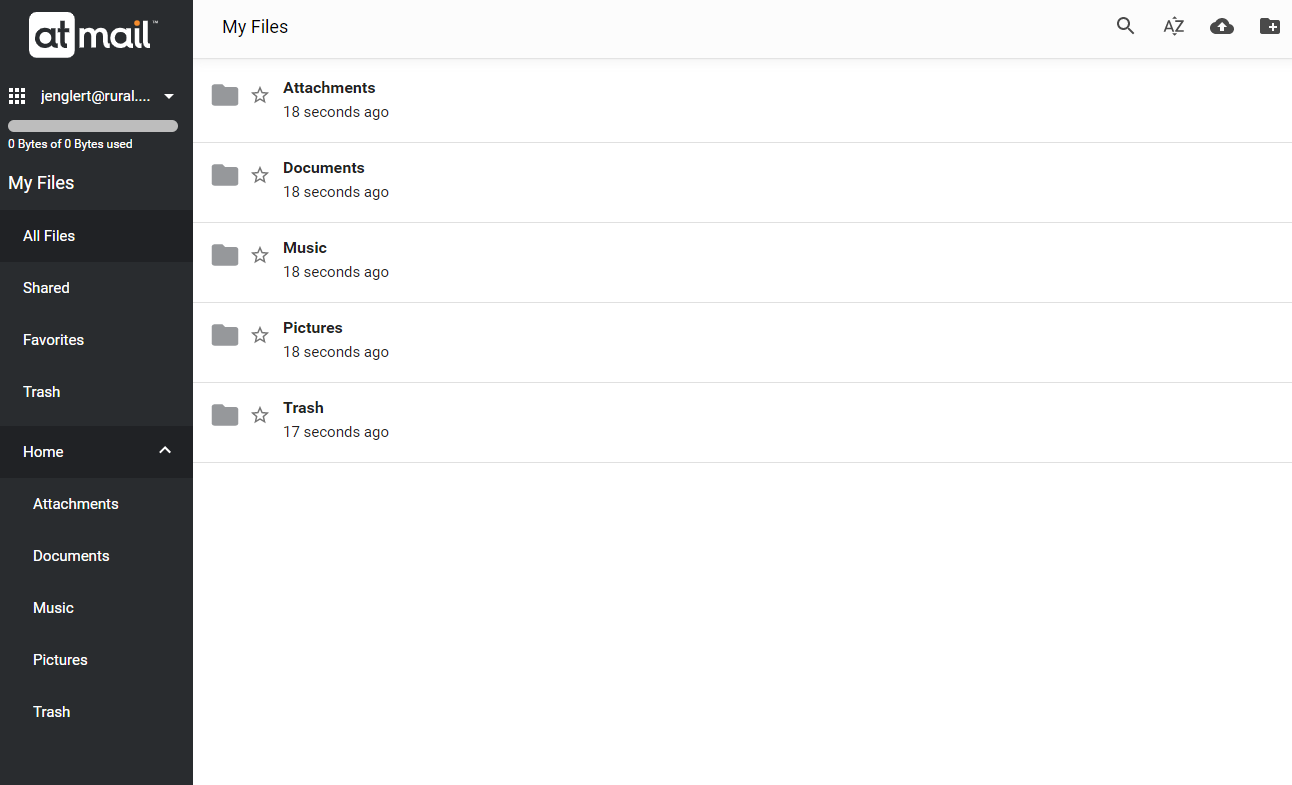
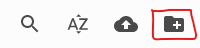
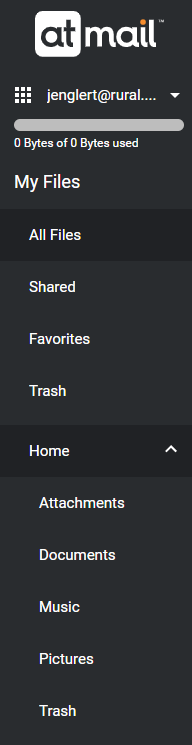
- The left column will show your Folders. You can create additional folders via the add icon in the top left.
Settings
The settings section of the webmail allows you to make several different changes to your account. You can change sections within the settings by using the column to the left. Here we will briefly cover different settings that can be changed in each section.
The settings section of the webmail allows you to make several different changes to your account. You can change sections within the settings by using the column to the left. Here we will briefly cover different settings that can be changed in each section.
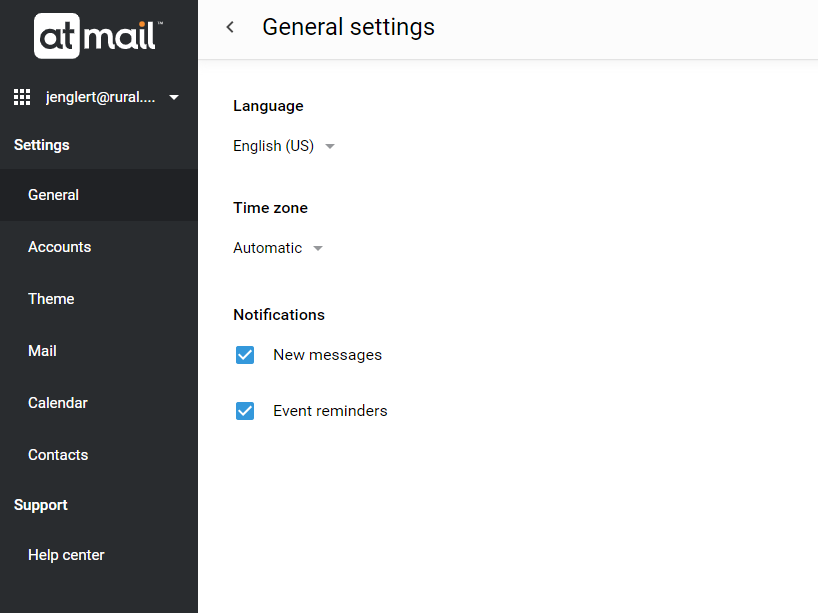
- General
- Language - this will allow the change of the language read in webmail
- Time Zone - This will allow the setting of a time zone or automatic
- Notifications - This will allow desktop notifications for new emails and events
- Accounts
- Add Another Account - This will allow you to add another account into your webmail to access multiple accounts from multiple email providers in one locatoin
- Change Password - This will allow you to change your email password directly from wembail
- Security Questions - This will allow you to add additional security to your account with security questions
- Recovery Email - Should you lock your email account this will allow you to reset the password via another email address
- Quota Used - This will indicate how much of your 10.00GB of storage you have used on your mailbox (this includes attachments and storage)
- Mark email as read after - time duration for when it will auto mark as read
- Empty Trash on logout - If this is turned on, it will purge your trash after you log out of webmail
- Block remote content - this will block any pictures, links and attachments that come into your email.
- Remote content whitelist - This will allow you to whitelist any email address you would like to receive content from (e.g. images, links)
- Always display date/time in Message List - this will always have the date and time of a message that was sent to you when enabled
- Message Previews - this will allow the preview of messages in your webmail without clicking on an email
- Conversation view - when enabled this will show emails back and forth between you and a contact in a conversation so they are all together
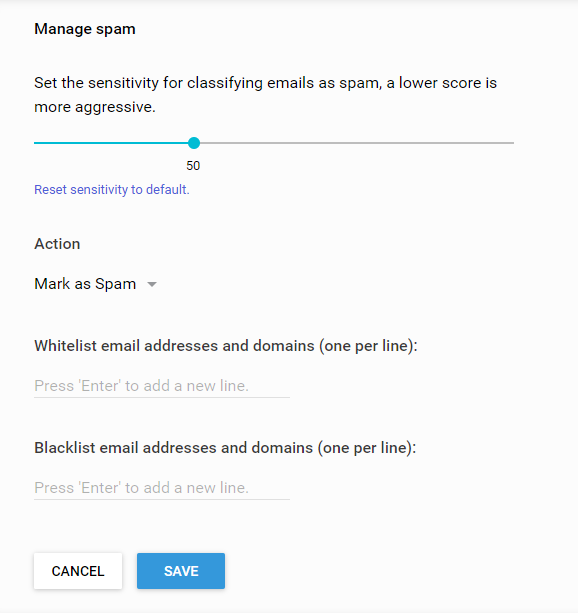
- Manage Spam - This will allow you to add or block contacts from emailing you. This will also allow you to personalize your spam protection via the slide bar. The lower the number here the more aggressive spam protection will be. White and black listing email addresses will require the full email address or domain.
- Auto Forwarding - This will allow you to forward mail from your @ruraltel.net email address to another email address of your choosing
- Send an Automated reply - This will allow the user to send an auto email to anyone sending them an email address
- Identities & Signatures - Allows the creation of an email signature
- Calendar
- Default View - Allows for the view to change from day to week or month
- Default reminder for events - This will allow for setting the reminder time for an event. You can select from at the time, 5 minutes before up to a day before or a custom date
- Delete email events on responding - This will delete emails when you respond to an event (off by default)
- Allow notifications from shared calendar events - This will turn on notifications on shared events (off by default)
- Contacts
- Manage groups - This will allow the creation of new contact groups
- Support
- This will have various support sections based on webmail built into the site