Windows 7 & Vista - Importing Photos
Importing Photos in Windows Vista and Seven
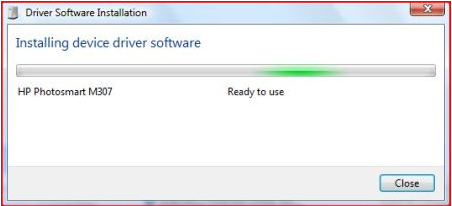
- First, connect your digital photo camera and press the Power On button. Windows Vista should detect the camera and will install the appropriate drivers. If Vista does not install the appropriate drivers for the printer automatically, you may need to find the CD that came with the Printer and re-install all the necessary drivers back onto the machine.
- Once the device drivers are properly installed on the machine, we are now ready to choose whether we want to import the images manually or let Windows do it automatically.
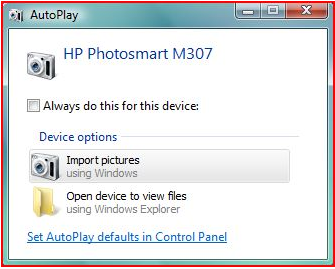
- If importing Automatically, Windows will import all the images located on the camera, you are not able to pick and choose which images to import or not. To import automatically, simply choose Import Pictures.
- if importing Manually, you have the option to pick and choose wich specific images you want to import, this saves lots of time if you have quite a few images on the camera. To import manually choose Open Device to view files. If you choose this option, it will be as simple as dragging and dropping which pictures or files you want to import.
- If importing Automatically, Windows will import all the images located on the camera, you are not able to pick and choose which images to import or not. To import automatically, simply choose Import Pictures.
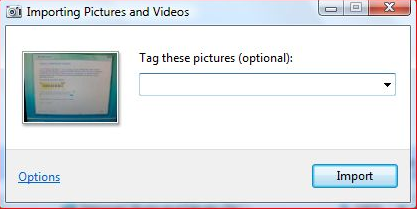
- You can type a general "tag" for the pictures that you are about to import. Tags can be very useful when organizing and finding your photos. If you do not wish to insert a "tag", just leave the space blank and click on Import.
- If you would like to customize the import settings, click on the Options link. Now you can change where to import the pictures to, you can change the name of the folder and also what file naming association is going to be involved.
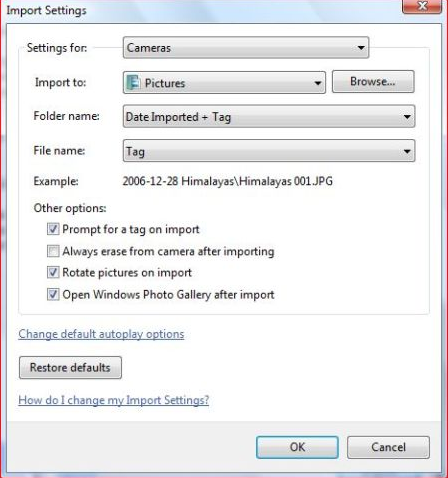
- When you have all the appropriate settings applied, click OK at the bottom (The settings you save here will now apply to all the pictures you import from now on)
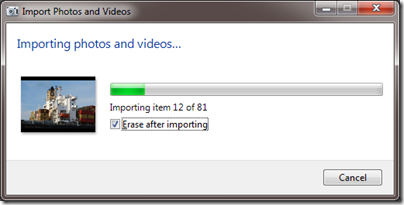
- Next click on Import, Vista will now start importing all your photos, if you wish to remove your photos off your camera after import, then put a check in the box Erase after importing.
- When the process is finished, Windows Photo Gallery should automatically open and you will be able to view all the pictures you just imported.
Importing Photos in Windows Seven
- First, connect your digital photo camera and press the Power On button. Windows Seven should detect the camera and will install the appropriate drivers. If Windows Seven does not install the appropriate drivers for the printer automatically, you may need to find the CD that came with the Printer and re-install all the necessary drivers back onto the machine.
- After Windows Seven has detected the camera, we want to choose the Import pictures and videos option from the autorun feature. Just like in Vista, if you choose to import the photos manually via the drag and drop technique, then you would want to chooes Open Folder to view files, this will allow you to browse through the cameras data.

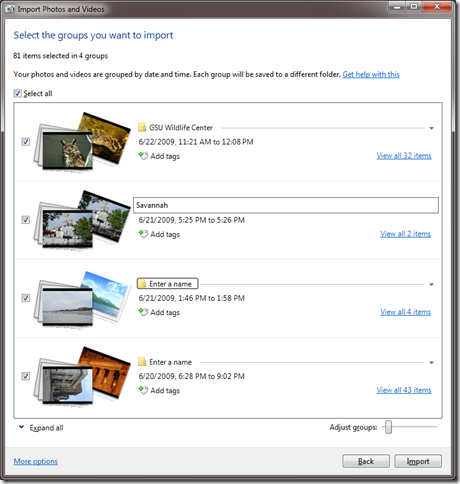
- This will now open another window which will show you in groups all the photos currently on your camera. You can Select All groups to import, or one specific group.
- To change the name of a specific group, left click in the box with a folder icon labeled Enter a name. You can also add a tag at this stage.
- When you are finished here, click on Import at the bottom right of the window.
- Your pictures will now begin the importing process from camera to computer. Once finished, Windows Seven will automatically open its Windows Live Photo Gallery.