Windows 7 - File Sharing
File Sharing in Windows 7:
When Public folder sharing is turned on, anyone on your computer or network can access these folders. When it''s off, only people with a user account and password on your computer have access.
-
Open Advanced sharing settings by clicking the Start button , and then clicking Control Panel. In the search box, type network, click Network and Sharing Center, and then, in the left pane, click Change advanced sharing settings.
-
Click the expansion link to expand your current network profile.


-
- Turn on network discovery so other computers will be able to see your computer on the network
- Turn on file and printer sharing
- Turn on Public folder sharing
- Turn on password protected sharing
- Turn on network discovery so other computers will be able to see your computer on the network
-
Click Save changes. If you''re prompted for an administrator password or confirmation, type the password or provide confirmation.
The Public folders
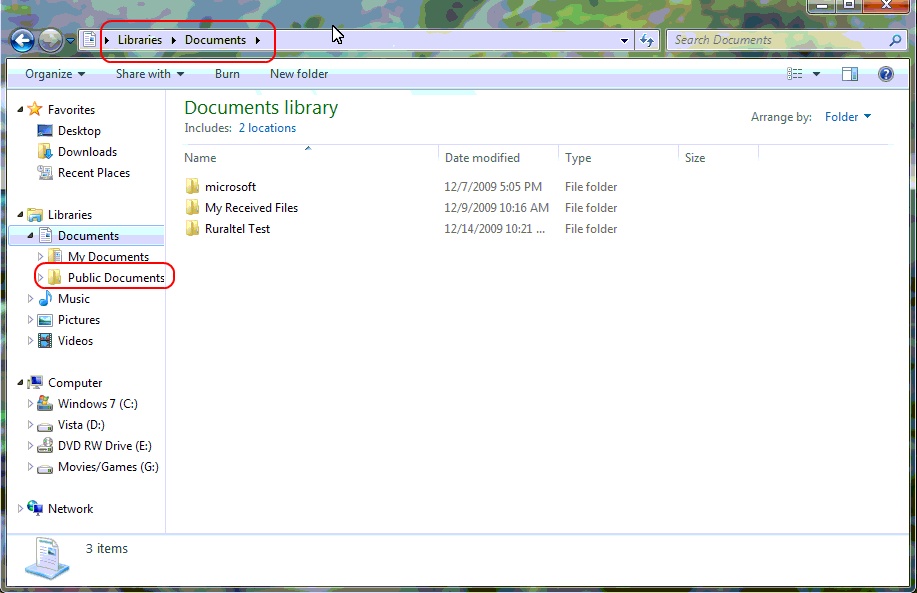
- You can also share files and folders by copying or moving them into one of the Windows 7 Public folders, such as Public Music or Public Pictures. You can find them by clicking the Start button then clicking your user account name, and then clicking the arrow beside Libraries to expand the folders.
- Public folder sharing is turned off by default (except on a homegroup)
Other Ways to Share
There are some locations in Windows that, for security reasons, can''t be shared directly using the Share with menu. One example is if you attempt to share an entire drive such as drive C on your computer (sometimes referred to as the root of a drive), or system folders (including the Users and Windows folders).
To share these locations, you must use Advanced sharing instead. In general, however, we don''t recommend sharing your entire drive or Windows system folders.
How to use Advanced Sharing
-
Right-click a drive or folder, click Share with, and then click Advanced sharing.
-
In the dialog box that appears, click Advanced Sharing. If you''re prompted for an administrator password or confirmation, type the password or provide confirmation.
-
In the Advanced Sharing dialog box, select the Share this folder check box.
-
To specify users or change permissions, click Permissions.
-
Click Add or Remove to add or remove users or groups.
-
Select each user or group, select the check boxes for the permissions you want to assign for that user or group, and then click OK.
-
When you''ve finished, click OK.
Other Notes:
-
You can''t share the root of a drive with a dollar sign following the drive letter as in versions of Windows earlier than Windows Vista. For example, you can''t share the root of your C drive as "C$," but you can share it as "C" or any other name.
-
If you don''t see the "Share with" menu, you might be trying to share an item on a network or other unsupported location. It also won''t appear when you select files outside your personal folder.
-
If you try to share something in one of the Windows 7 Public folders, the "Share with" menu will display an option called "Advanced sharing settings". This option takes you to Control Panel, where you can turn Public folder sharing on or off.
-
If password-protected sharing is turned on, the person you want to share with must have a user account and password on your computer for full access to shared items. Password-protected sharing is located in Control Panel under Advanced sharing settings. It''s turned on by default.