Apple Mac OSX - Connecting to a Wireless Network
How to Connect to a Wireless Network on Mac
NOTE: Prior to OSX 10.7, the wireless feature on Mac computers were called Airport. Since 10.7, Apple has changed the term from Airport to Wi-Fi. The pictures below were taken from OSX 10.7, but the steps are the same with previous versions of Mac.
- First we will want to make sure the Wi-Fi or Airport on the Mac is turned on.

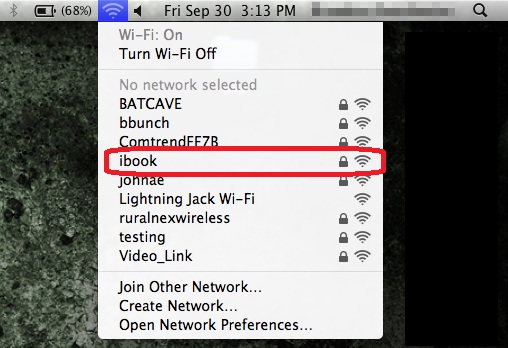
- Once the Wi-Fi or Airport is turned on, it will automatically scan for networks in range. When you see the network that you would like to connect to, simply click on it.
NOTE: if the network name has a lock symbol next to it, then it requires a password to connect to.
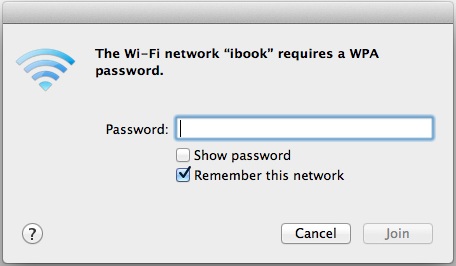
- If the network requires a password to connect, a pop-up box will appear asking you to enter the password. Type in the password and press Join to connect to the network.
NOTE: When Show password is checked, it will show the characters that you have typed in. When it is unchecked, then the characters will show up as dots.
NOTE: When Remember this network is checked, then the computer will remember both the name and the password to connect to this network and will automatically connect to it from now on.
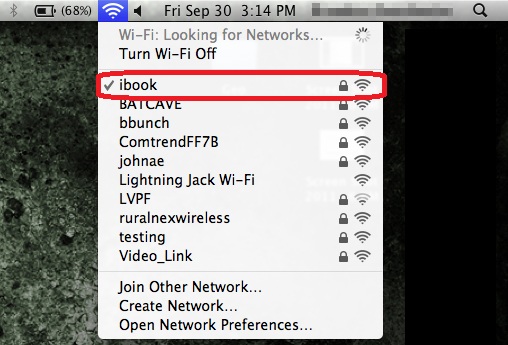
- Once you are connected, the Wi-Fi or Airport symbol on the top right of the screen will show the signal strength of your connection. If you click on that icon, you will see all networks in range and the one that you are connected to will have a check mark next to it.