Cloud Fax Using The Cover Sheet Editor
Editing And Setting The Default Cover Sheet
Editing Cover Sheets
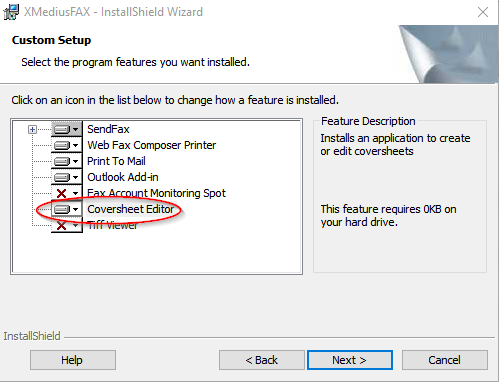
- If not already installed with SendFax Client - Install cover sheet editor
- Login as user at https://cloudfax.nex-tech.com/fax
- Click “Download Windows client” in bottom right hand corner
- Run downloaded .exe file should be XMediusFAX x.x.x.x (Client Redist).exe
- Click on Cover Sheet Editor and select “Install this feature” and install the program.
- Login to as Site Admin at https://cloudfax.nex-tech.com/faxadmin
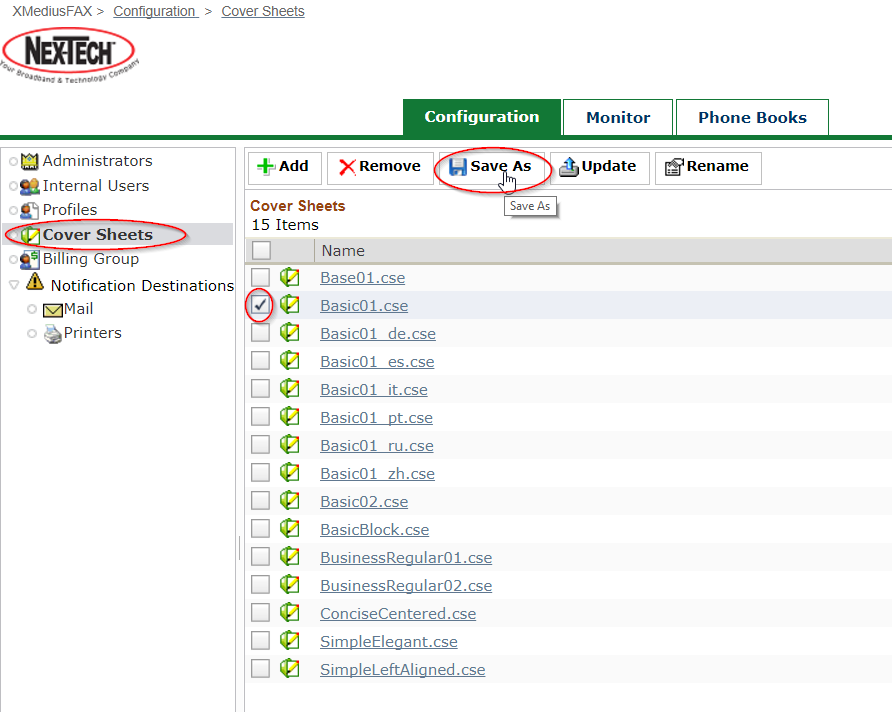
- Click on “Cover Sheets”, check mark Cover Sheet you want to edit and Select “Save As”
- Double Click on Saved Cover Sheet
- Editor should open
- Adding a logo (optional)
- In the Xmedus Send Fax software, select EDIT, then choose INSERT NEW OBJECT
- From the FILE menu select CREATE and the browse to your logo file and select OK
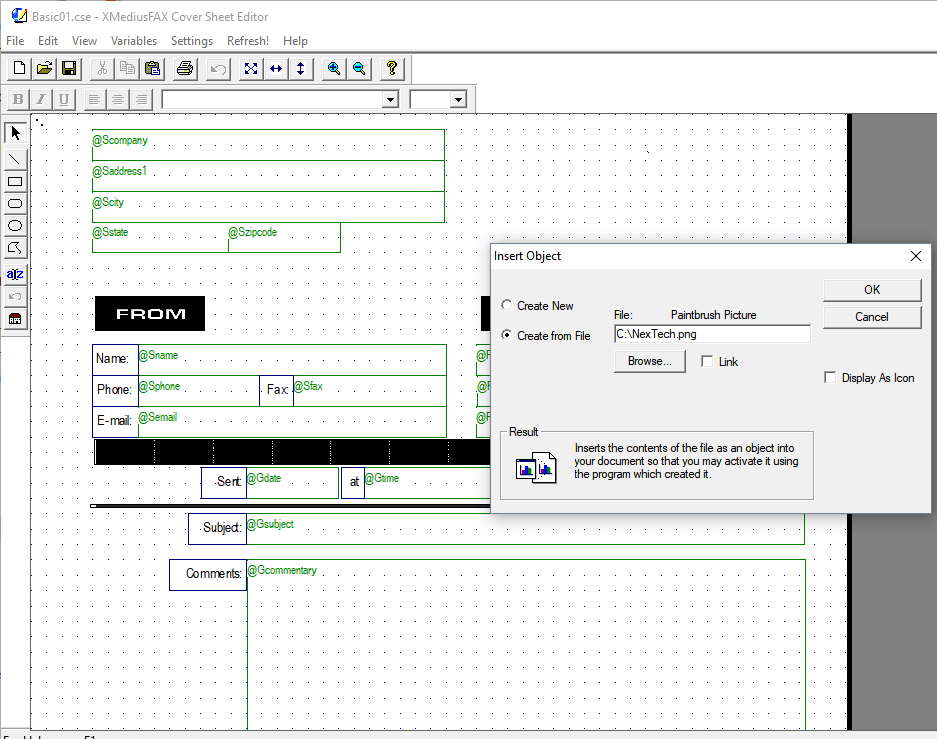
- Drag the Logo image to where you want it positioned on the page.
- Select FILE and chose SAVE AS
- Go back to Site Administration Web Page Click on STRONG, and then ADD
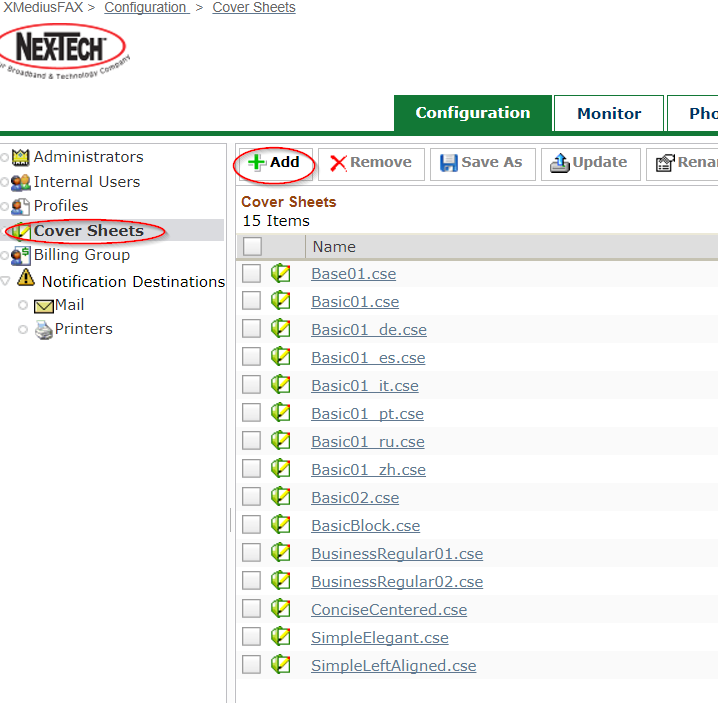
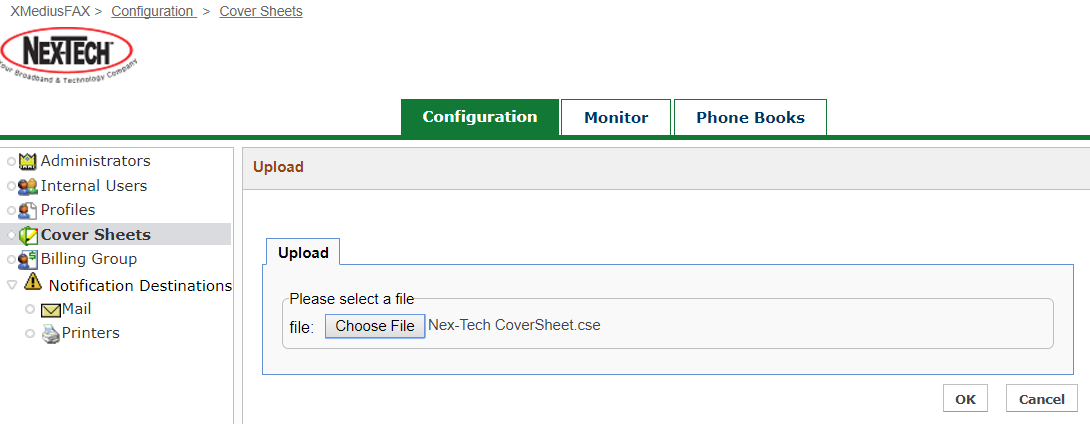
- In the UPLOAD section of the CONFIGURATION tab, click CHOOSE FILE. Browse to newly saved cover sheet location and select the cover sheet file. Select OK to return to the configuration screen. Your cover sheet has now been added to the list of available sheets.

Adding New Cover Sheet as All Users Default Cover Sheet
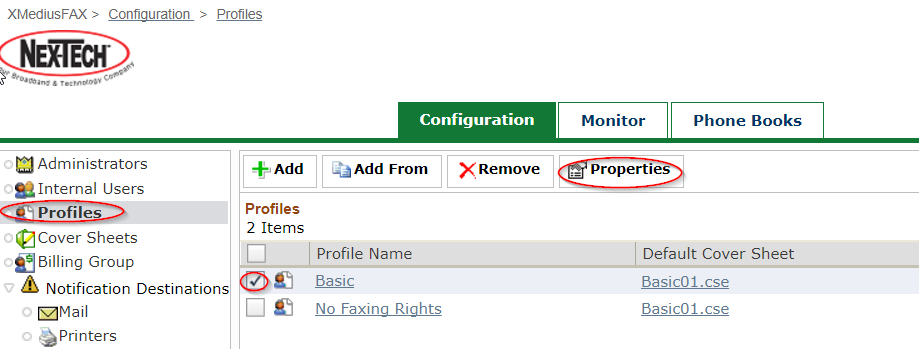
- Select PROFILES and then place a check mark next to the profile you wish to edit. Select PROPERTIES to edit this profile.
- Select COVER SHEETS and then select your recently added cover sheet from the drop down menu. Select OK to set this cover sheet as the default sheet.
